• A roof tarp is a fast, temporary way to protect your home from more water damage after a leak or storm.
• The safest and best results come from using the right tarp size, securing it tightly, and watching for pooling water.
• Knowing how to tarp a roof can help you buy time, reduce damage inside the home, and plan the right permanent repair.
Why Fast Roof Tarping Matters in Bothell
When a roof is damaged, every minute counts because rain can move in fast and make the problem worse. In Bothell, fall weather can bring steady moisture, so delaying repairs can lead to stains, soaked insulation, and bigger structural issues. If you are wondering how to tarp a roof, the first step is to act before the damage spreads. Our team knows that quick protection can make a real difference while you plan the next repair step, and our roof repair services can help with that process.
A roof tarp is a temporary fix, but it can still protect your home from more water getting inside. The goal is to cover the damaged area tightly so the tarp stays in place through wind and rain. If the cover is loose or placed wrong, water can still get through and create more trouble than before. That is why timing, fit, and secure placement all matter from the start.
We often remind homeowners that a tarp is not a final repair, but it can buy valuable time. A proper temporary cover can help limit interior damage until a full fix is ready. It also gives you a safer window to assess the roof and decide what comes next. When the weather turns wet in Bothell, knowing the right steps can help protect your home and reduce stress.
How Roof Tarping Works
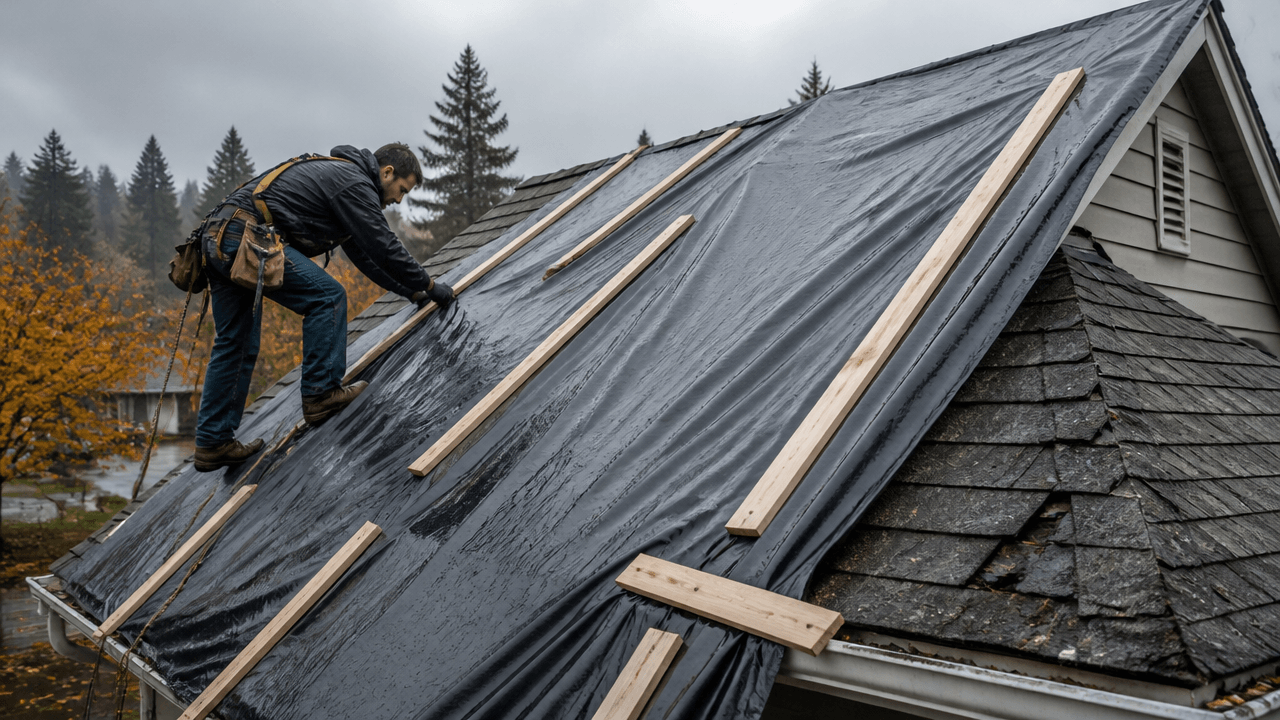
The best results come from using the right size tarp and placing it over the damaged section with care. It should extend past the problem area so water does not run underneath the edges. The tarp also needs to be attached securely, usually with boards or other fasteners that hold it down against wind. If the roof surface is steep or slippery, extra caution is needed because safety matters as much as coverage.
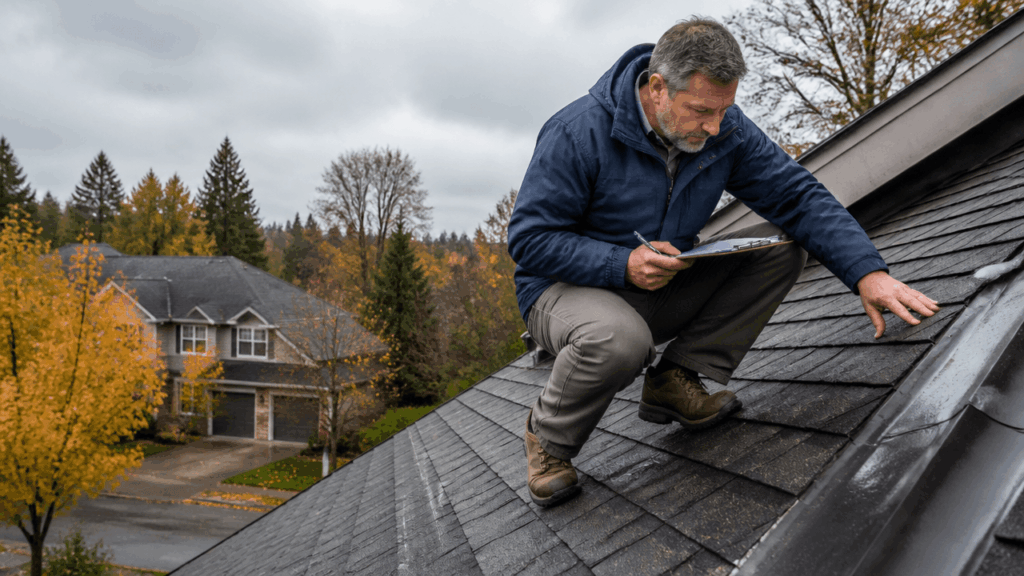
This process works best as a temporary shield, not a long-term fix. A tarp can stop active leaking for a short time, but it does not repair broken shingles, damaged decking, or hidden underlayment problems. That is why homeowners should treat it as an emergency step and follow up with a proper inspection. If you need help figuring out what comes next, our team can guide you toward the right repair path.
Step-by-Step Guide
🧤 Step 1: Put Safety First
Before you go onto the roof, make sure the area is safe and the weather is calm enough to work. Wet surfaces, strong wind, and loose debris can turn a simple task into a dangerous one. If the roof is too steep or too damaged, it is safer to stop and get professional help.
📏 Step 2: Measure the Damaged Area
Measure the leak zone and add extra space on all sides so the tarp covers more than just the visible damage. This helps keep water from sneaking in around the edges. A tarp that is too small will not do the job well.
🧰 Step 3: Gather the Right Materials
You will need a heavy-duty tarp, wood boards, and fastening tools to secure everything in place. Strong materials matter because thin plastic can tear quickly in wind or rain. Having everything ready before you climb up helps the job move faster and safer.
🪜 Step 4: Place the Tarp Over the Leak
Lay the tarp so it extends over the damaged area and reaches beyond the spot where water may enter. Smooth it out as much as possible so it lies flat against the roof. Wrinkles and gaps can let water pool or slip underneath.
🔩 Step 5: Secure the Edges Firmly
Fasten the tarp with boards or other safe holding methods so it stays tight against the roof. This helps reduce flapping in the wind and keeps the cover from shifting. Loose edges are one of the biggest reasons temporary roof covers fail.
💧 Step 6: Check for Water Flow
Make sure the tarp is placed so rain can run off and not collect in one spot. Standing water adds weight and can pull the cover loose. A proper slope helps the tarp work as a short-term shield instead of a water trap.
🧹 Step 7: Inspect the Inside of the Home
After the tarp is secured, check the attic or ceiling area for any signs of active leaking. This helps you confirm whether the cover is doing its job. If water is still coming in, the tarp may need to be adjusted right away.
📞 Step 8: Plan the Permanent Repair
A tarp is only meant to protect the home for a short time, so the next step is arranging a full roof repair. Delaying that repair can allow hidden moisture damage to grow. The sooner the roof is fixed, the less likely it is that the problem spreads.
Common Mistakes to Avoid
DIY roof tarping can help in an emergency, but small mistakes can make the leak worse. Most problems happen when people rush, skip safety checks, or use materials that are not strong enough. Knowing what to avoid can save time, money, and extra damage inside the home.
⚠️ Mistake 1: Using a Tarp That Is Too Small
This happens when someone only covers the visible hole and forgets that water can travel farther than the damaged spot. A small tarp leaves gaps where rain can still get through. To prevent this, use a tarp that overlaps the damaged area by a wide margin on all sides.
⚠️ Mistake 2: Not Securing the Edges Well
This mistake is common because people want to finish fast and skip proper fastening. If the tarp is not held down tightly, wind can lift it and let water sneak underneath. Use solid fastening methods so the tarp stays flat and stable.
⚠️ Mistake 3: Ignoring Roof Safety
People often rush up a ladder without checking the slope, surface, or weather conditions first. That can lead to slips, falls, or damage to the roof itself. Always slow down, wear proper gear, and stop if the roof feels unsafe.
⚠️ Mistake 4: Letting Water Pool on the Tarp
This usually happens when the tarp is placed too flat or not adjusted for drainage. Standing water adds stress and can pull the cover loose over time. Set the tarp so water can flow off instead of collecting in the middle.
⚠️ Mistake 5: Treating the Tarp as a Final Fix
Some homeowners assume the job is done once the tarp is in place, which can delay needed repairs. The tarp is only a short-term shield and should not replace a real roof fix. To prevent bigger issues, schedule a full repair as soon as possible.
Frequently Asked Questions
How to tarp a roof after storm damage?
Yes, you can tarp a roof after storm damage if you can do it safely and the roof is stable enough to stand on. The tarp should cover the damaged area fully and be secured so wind and rain cannot move it. This is a temporary fix meant to protect the home until repairs can be made.
How long can a roof tarp stay in place?
A roof tarp should stay in place only as a short-term solution. It can protect the home for a limited time, but weather and wear can weaken it quickly. We recommend moving to a permanent repair as soon as possible.
What size tarp do I need for a roof leak?
You need a tarp large enough to cover the damaged area with extra space on every side. That overlap helps block water from getting under the edges. A tarp that is too small will not protect the roof well.
Can I tarp a roof by myself?
Yes, you can tarp a roof by yourself if the roof is low, the weather is calm, and you can work safely. However, steep roofs, wet conditions, and storm damage can make the job risky. If the situation feels unsafe, it is better to step back and get help.
Does tarping a roof stop leaks right away?
Yes, tarping a roof can stop active leaking right away if it is installed correctly. It works as a temporary barrier that helps keep water out while you plan repairs. If water is still coming in, the tarp may need to be adjusted or replaced.
Final Thoughts on Roof Tarping
A roof tarp can protect your home fast, but it works best when it is sized right, secured well, and used as a short-term fix. In Bothell’s wet fall weather, waiting too long can turn a small leak into a much larger repair. If you are asking how to tarp a roof, the safest answer is to act quickly and with care.
We believe the smartest move is to treat tarping as the first step, not the last one. A proper repair will give your home lasting protection and help prevent more damage inside. To stay connected with our team and see more from The Seattle Roofing Company, follow us on social media.