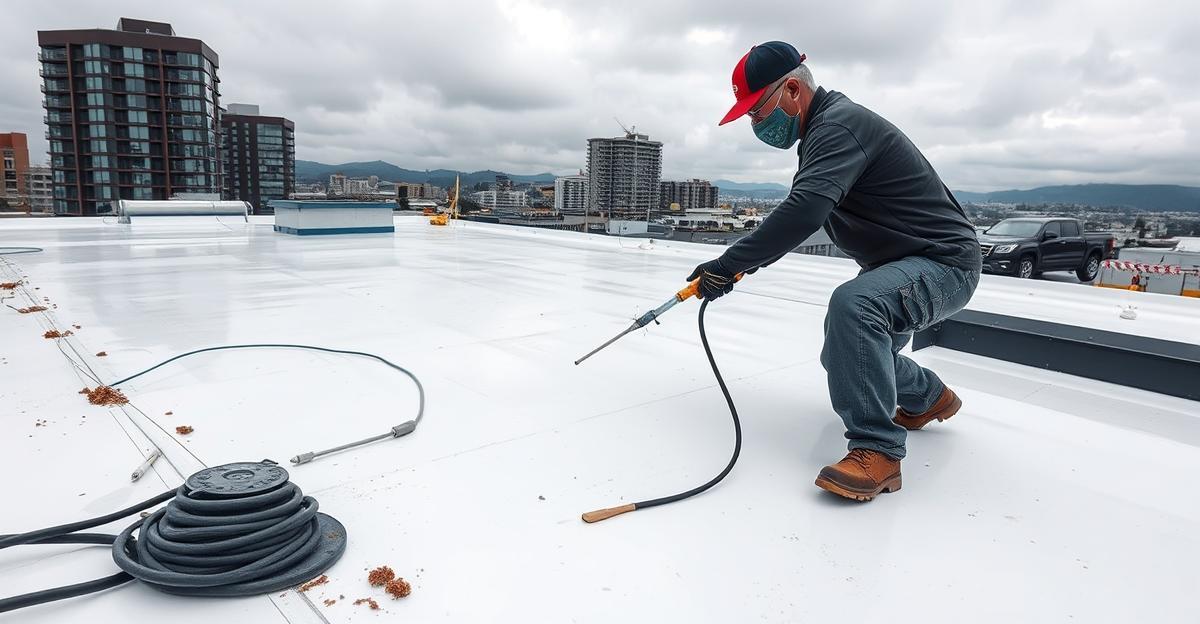
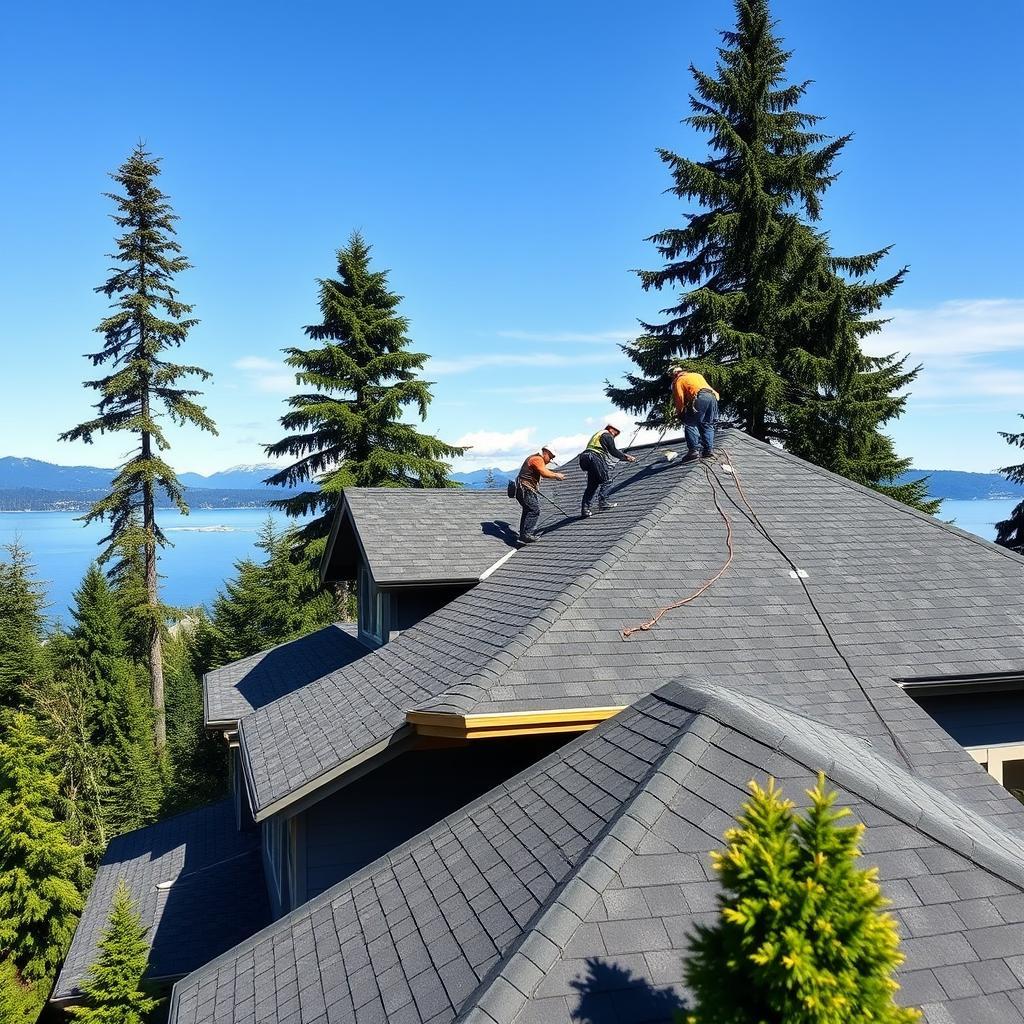
Quick Answer: Inspect your Seattle roof twice yearly: April (after winter damage) and September (before the rainy season). From the ground with binoculars, check for missing shingles, curling edges, and moss coverage. In the attic, look for daylight through sheathing and moisture staining on rafters. The September inspection is the most critical — issues found and repaired before October rains cost a fraction of what they cost after five months of Northwest weather. Never walk on a wet Seattle roof. Never pressure wash moss.
A problem found on your roof in September costs a fraction of what it costs in February. Seattle gives you a narrow dry window before five months of near-constant rain — and everything your roof lets in during those five months compounds week by week in ways that never happen in drier climates. Mold doesn't need long to get started. Rot doesn't wait.
The good news: a systematic twice-yearly inspection takes about an hour, costs nothing but your time, and consistently catches the issues that turn into four-figure repairs. This checklist walks you through the full process — spring, fall, and post-storm — and tells you exactly where to look, what the warning signs mean, and when to put down the binoculars and call a professional.
This article pairs with our roof maintenance guide for a complete picture of keeping a Seattle roof in service. For strategies to actively extend your roof's lifespan, see our guide on how to extend the life of your Seattle roof.
Before You Begin: Tools, Safety, and Scope
What You'll Need
- Binoculars — the safest way to assess shingle condition from the ground
- Flashlight — for the attic inspection
- Camera or phone — document everything you find, dated
- Stable ladder — for gutter checks at the eave only, not for roof access
- Notepad or checklist app — track findings systematically
The Safety Rule for Seattle Roofs
Seattle roofs are wet or moss-covered for most of the year. A surface that looks like it has some traction can be nearly as slick as ice when combined with algae growth. Never step onto your roof surface unless conditions are bone dry, you have proper non-slip footwear, and you're confident in the pitch and your footing. When in doubt, stay on the ground.
Everything on this checklist can be accomplished from one of three positions: ground level with binoculars, the attic, or a ladder positioned at the eave (not climbing onto the roof). If a condition requires getting on the roof to assess, that's a job for a licensed contractor.
Also important: never inspect after rain or in wet conditions. Even walking near the eave to check gutters becomes a slip risk on a moss-covered roof.
Your Safe DIY Inspection Scope
- Ground-level visual scan of the entire roof surface and edges
- Gutter inspection from a ladder positioned at the eave
- Attic inspection from below with a flashlight
- Interior walkthrough of ceilings and upper walls
Everything else — flashing close-up, walking the surface, assessing structural issues — is professional territory.
Spring Inspection Checklist — Exterior
When: April, after winter weather has passed and before the summer dry window fills up contractor schedules.
Why spring: Winter is hard on Seattle roofs. Wind events lift shingles. Freeze-thaw cycles crack sealant. Moss that spent all fall and winter growing is at peak coverage and peak root depth. Spring inspection catches winter damage while repairs are still straightforward and unrushed.
✓ Shingles and Roof Surface
Scan every visible section of the roof with binoculars. You're looking for:
- Missing shingles — gaps in the pattern, exposed black underlayment showing through
- Cracked or split shingles — visible breaks across the tab face
- Curling edges — shingles lifting at corners or curling upward at center (cupping vs. clawing are different failure modes, but both indicate end-of-life pressure)
- Bald patches — areas where granules have worn away, leaving a darker, smoother surface
- Granule loss — look for color inconsistency across sections; heavy granule loss shows as noticeably darker, shinier areas compared to the rest of the roof
- Ridge cap condition — the capping shingles at the peak take more wind and UV than anywhere else; check for gaps, lifted edges, or missing sections
Note the location of any findings. A single missing shingle on the back slope is a $300 repair; the same shingle missing for one rainy season can introduce $2,000 of deck damage beneath it.
✓ Flashing and Penetrations
Flashing is the metal barrier that seals every joint on your roof — and it's responsible for roughly 60% of Seattle roof leaks. From the ground, focus on:
- Chimney step flashing — the visible metal at the chimney base and sides; look for rust staining running down the chimney face or the roof surface, which signals water is escaping at the flashing joint
- Skylight perimeter — check that the metal frame sits flush against the shingles all the way around; any lifted edge or gap is a leak path
- Vent pipes and pipe boots — the rubber collar around each vent pipe (pipe boot) degrades with UV and temperature cycling; look for cracking, pulling away from the pipe, or rust at the base
- Valley metal — the channel where two roof planes meet; debris accumulation in valleys holds moisture and accelerates metal corrosion underneath
✓ Gutters and Drainage
From a ladder at the eave (not on the roof), check:
- Granules in gutters — a handful per season is normal; a cup or more of fine granule sediment per gutter section means significant shingle wear and warrants a professional assessment
- Gutter attachment — gutters pulling away from the fascia board after winter freeze-thaw cycles; sagging sections that won't drain
- Downspout flow — run water through each downspout to confirm it flows freely and discharges away from the foundation
- Fascia board condition behind gutters — visible rot or dark staining on the fascia under the gutter indicates chronic overflow, which can wick into the roof deck at the eave
Gutter cleaning and repair at least twice a year eliminates the water backup that causes most eave damage.
✓ Moss and Algae
Spring is when moss coverage is most visible after a full wet season of growth. From the ground:
- Green patches — active moss growth; assess what percentage of the visible roof surface is affected
- Black or dark gray streaking — algae growth (Gloeocapsa magma), especially on north-facing and shaded sections
- Lumpy or uneven shingle texture — especially near ridge or in valleys — may indicate moss root growth lifting shingle edges from below
- Shaded north-facing sections and near overhanging trees — highest-risk areas; inspect these sections most carefully
Light seasonal moss fuzz is manageable with a fall treatment application. Thick green mat — particularly where you can see shingle edges lifting — needs professional moss removal and treatment before the summer dry season. Both GAF and IKO void their manufacturer warranties when moss is present and untreated.
✓ Eaves, Fascia, and Soffit
- Fascia — the vertical board under the roof edge; rot or paint failure here usually means gutters have been overflowing and wicking moisture back into the wood
- Soffit — the underside of the eave overhang; staining or moisture bubbling up through soffit material indicates water is getting in somewhere above
- Drip edge — the metal strip at the roof edge that directs water into gutters; check that it's still attached and hasn't lifted or corroded away
Spring Inspection Checklist — Interior and Attic
Exterior problems show up on the inside before they become structurally serious. After the exterior walkthrough, spend fifteen minutes inside.
✓ Attic Inspection
Bring a flashlight and check every corner and rafter bay:
- Daylight through sheathing — turn off the attic light and let your eyes adjust. Any pinhole of daylight coming through the roof boards is an active breach, even if it hasn't reached your ceiling yet
- Moisture staining on rafters and sheathing — brown or dark discoloration on wood surfaces that wasn't there before winter. Fresh staining may still be damp; older staining is dry but the problem may still be active
- Mold growth — fuzzy dark or greenish growth on wood surfaces, especially in corners and around any penetrations. Mold in the attic is a health concern and a sign of either a leak or inadequate ventilation
- Insulation condition — wet or compressed batt insulation has permanently lost its R-value. Areas that have gotten wet appear darker, matted, or sunken compared to surrounding sections
- Ventilation airflow — on a mild day, you should feel air movement near the soffit vents at the attic floor and near the ridge vent at the peak. Blocked soffit vents (from insulation pushed against them or debris) cause moisture buildup that deteriorates sheathing from below
✓ Interior Ceiling and Wall Walk
Walk every room of the top floor and any rooms directly under roof penetrations:
- New brown ring stains on ceilings — the classic sign of a past or active leak
- Paint peeling or bubbling near the top of exterior walls or at ceiling edges — moisture wicking through the wall cavity
- Musty or damp smell in upper rooms or closets — especially any space with an exterior wall backing up to the roof eave
- Ceiling staining near skylights or chimneys — the two highest-risk penetration points for Seattle roofs
Photograph every finding, dated. This documentation matters if you end up filing an insurance claim. The Washington Office of Insurance Commissioner outlines what documentation Washington insurers require and what your rights are during the claims process.
Fall Inspection Checklist — Exterior
When: September — before the first sustained rains of October.
Why fall: This is the most consequential inspection of the year. Anything you find in September can be repaired before five months of rain make every problem worse. Anything you miss will be dealing with active water by November, and repairs scheduled in winter face weather delays, limited contractor availability, and compounding damage.
✓ Shingles — End-of-Summer Assessment
Summer heat creates its own shingle stress. Check for:
- Cupping — shingle edges curling downward; usually from heat driving out moisture unevenly
- Clawing — shingle tab ends lifting while middle stays flat; indicates age-related loss of adhesive seal
- Any summer wind damage — even a mild late-summer windstorm can lift corner tabs that will catch driving fall rain
- Ridge cap gaps — the ridge cap can shift slightly during summer dry-out and re-shrink; check that no daylight shows at the ridge from the attic
✓ Flashing — Last Window to Reseal
Flashing sealant dries, shrinks, and cracks in summer heat. Fall is the last practical window to apply fresh sealant before winter locks you out with cold temperatures that prevent proper adhesion.
- Any penetration that showed any sign of moisture last winter — priority for fresh sealant
- Chimney step flashing — check that the metal still overlaps the shingles properly on all four faces
- Pipe boot collars — feel the rubber for brittleness or cracking; a boot replacement in September costs $300–$650 and prevents the leak that starts in November
- Skylight perimeter — run a finger along the edge to feel for gaps or lifted sealant; any gap before rain season is a guaranteed leak
✓ Gutters — Pre-Rain Clearance
This is the most time-sensitive fall item. Gutters blocked by September and October leaf drop cause the water backup that damages eaves and contributes to shingle lift at the roof edge.
- Clear all debris from gutter troughs before the first heavy rain
- Check gutter slope — gutters should drain toward downspouts, not sag in the middle
- Test downspout flow with a garden hose before rain season
- Look for any new fascia staining since spring — if there's new rot, address it before winter locks moisture in
✓ Moss Treatment Application
Fall is the right time to apply preventive moss treatment to Seattle roofs:
- Zinc sulfate or similar treatment applied in September kills germinating spores before they establish over winter
- Existing light moss (thin seasonal fuzz): treat now and it will die off over winter
- Existing heavy moss (thick mat, lifted shingles): professional removal first, then treatment — don't just treat over established growth
- Clear debris from valleys — pine needles, leaves, and seed pods packed into roof valleys dam water flow and accelerate valley metal corrosion
For the full seasonal treatment protocol, see our guide on moss removal and treatment.
✓ Tree Clearance
Overhanging trees cause three separate problems: abrasion damage from branches rubbing shingles, debris accumulation that holds moisture and feeds moss, and the risk of branch or whole-tree failure in wind events.
Before fall:
- Branches within 6 feet of the roof surface — trim or remove; direct contact will wear through shingle granules over a single winter
- Dead or structurally compromised branches — even a branch that won't hit the roof in a fall event can damage a gutter or eave
- Large overhanging canopy — increased shade slows drying and dramatically accelerates moss growth; thinning the canopy makes a measurable difference in moss frequency
Fall Inspection Checklist — Interior and Attic
✓ Attic Pre-Rain Check
- Insulation fully covering the attic floor — compressed or missing sections allow heat loss and moisture migration; Washington climate zone requires R-38 minimum
- No dark staining or mold on sheathing that appeared since spring — any new evidence of moisture means a breach opened over summer that needs to be found before rain season
- Ridge vent and soffit vents clear — reach into soffit baffles (if accessible) to confirm insulation hasn't slumped into the vent channel; blocked vents are one of the most common causes of attic moisture in Seattle
- Bathroom exhaust fans — confirm they're ducted to the exterior, not terminating in the attic; attic-terminated exhaust fans dump warm humid air directly onto cold sheathing and cause condensation-based moisture damage that looks exactly like a roof leak
✓ Interior Walk
- No new stains since spring — any brown ring, paint bubble, or damp smell that's appeared over summer needs investigation before fall rain starts
- Skylight and chimney areas — specifically check ceilings within 3 feet of these penetrations
- Smell test — a musty, earthy smell in a closet or upper corner of a room often means active moisture somewhere above, even if no visible stain is present yet
Post-Storm Inspection Checklist
After any significant wind event — gusts exceeding 40 mph, a storm with downed branches in the neighborhood, or any storm where you hear something impact the roof — do a ground-level check within 24 hours.
✓ Immediately After (Ground Level Only)
- Missing shingles — visible gaps or exposed underlayment, especially at ridge and eaves where wind lifts first
- Displaced ridge cap — ridge cap shingles blown off or shifted; this opens the most vulnerable seam on the entire roof
- Debris on the roof surface — branches, neighbor's debris, anything that may have impacted and damaged shingles or flashing
- Gutter damage — gutters bent, pulled away, or blocked by debris
- Hail damage on metal surfaces — if hail occurred, check gutters, downspouts, and any exposed metal flashing for denting, which often corresponds to shingle bruising
✓ Document Before Touching Anything
If you're filing an insurance claim, documentation sequence matters:
- Photograph all exterior damage from multiple angles with timestamps
- Note the date and storm conditions — look up wind speed from a local weather station or weather service record for that day
- Photograph interior damage (any new stains, water intrusion) with the same timestamp
- Do not attempt DIY repairs before the adjuster visit — patched damage is harder to document and claim
For a full walkthrough of the insurance process, see our guide on storm damage documentation.
✓ When to Call for Emergency Service
Don't wait for the next scheduled inspection if you see:
- Any missing shingles with rain in the forecast within 48 hours — exposed underlayment fails quickly in sustained rain
- Active dripping inside your home during or after the storm
- A visible structural displacement — shifted ridge, bent decking, fallen tree still on the roof
- Large section of debris that may have impacted the deck
Emergency roof repair is available 24/7. Emergency tarping starts at $499 and prevents the cascade of water damage that follows an unprotected breach through a full Seattle storm.
Red Flags: Stop DIY, Call a Professional
These are the findings that end the DIY inspection. If you see any of these, document them and call for a professional assessment — don't attempt to diagnose further or make repairs yourself.
🚩 Structural Concerns
Sagging anywhere on the roof surface, at the ridge, or at a rafter line — this is the most urgent finding possible. Sagging means the structural deck or framing below is compromised, and the risk of further collapse exists. Call for emergency assessment within 24 hours.
Interior ceiling that feels soft or spongy when you press it gently — the drywall and framing above have absorbed water and are structurally weakened.
Visible gap at the ridge line from inside the attic — a gap you can see daylight through at the ridge indicates significant structural movement.
🚩 Active Water Intrusion
Dripping during or immediately after rain — there is an active breach somewhere. The longer this continues, the more insulation soaks, decking saturates, and mold proliferates.
Ceiling stain that changes size — a stain that's growing or was clearly smaller last time you looked is an active leak, not a historic one.
Mold visible in attic or upper walls — especially combined with a musty smell. Mold indicates moisture has been present long enough to establish, which means the source has been active for weeks at minimum.
🚩 Extensive Moss Coverage
Moss covering more than 20% of the roof surface with visible shingle edge lifting — at this level, the moss roots are causing physical shingle damage and professional removal is required before treatment.
Shingles that crumble or crack when touched during a gutter inspection — if you can reach a shingle edge from the ladder and it feels brittle or falls apart, the shingle is at end of life and the roof needs professional evaluation.
🚩 Significant Flashing Failure
Rust streaks running down the chimney face — these stains appear when water is escaping the chimney flashing joint and running down the masonry; the leak is active.
Daylight around the chimney base visible from the attic — a gap at the chimney-to-deck junction is a major water entry point.
Multiple interior stains near different penetrations — when you have staining near a skylight, plus near a chimney, plus near a vent pipe, the flashing system has broadly failed and needs a professional assessment of every penetration.
🚩 End-of-Life Indicators
Widespread granule loss exposing black substrate across more than two or three sections — when multiple areas show the dark bare surface beneath the granule layer, the roof has exceeded its protective life. A roof repair cost guide can help you think through the repair-vs-replace math, and our replacement cost guide covers what a new roof will run.
More than 30% of visible shingles curling — isolated curling on one section is repairable; widespread curling across the entire roof face signals age-related failure across the full membrane.
Roof age past 18 years on standard architectural shingles combined with any of the above — Seattle's shortened shingle lifespan of 15–20 years means that a 19-year-old roof showing multiple issues is in replacement territory, not repair territory. Our asphalt vs. metal roofing comparison covers material options for the next roof if you're approaching this decision. When you're ready to find a contractor, see our complete guide to choosing a roofing contractor in Seattle.
When to Book a Professional Inspection
What Our $249 Inspection Includes
A professional inspection is qualitatively different from a DIY walkthrough — not because homeowners can't observe, but because a trained eye knows where to look, what the findings mean together, and how to access areas that aren't visible from the ground or attic floor. The American Society of Home Inspectors (ASHI) sets the professional standard for what a thorough roof and structure inspection should cover.
Our roof inspection service covers:
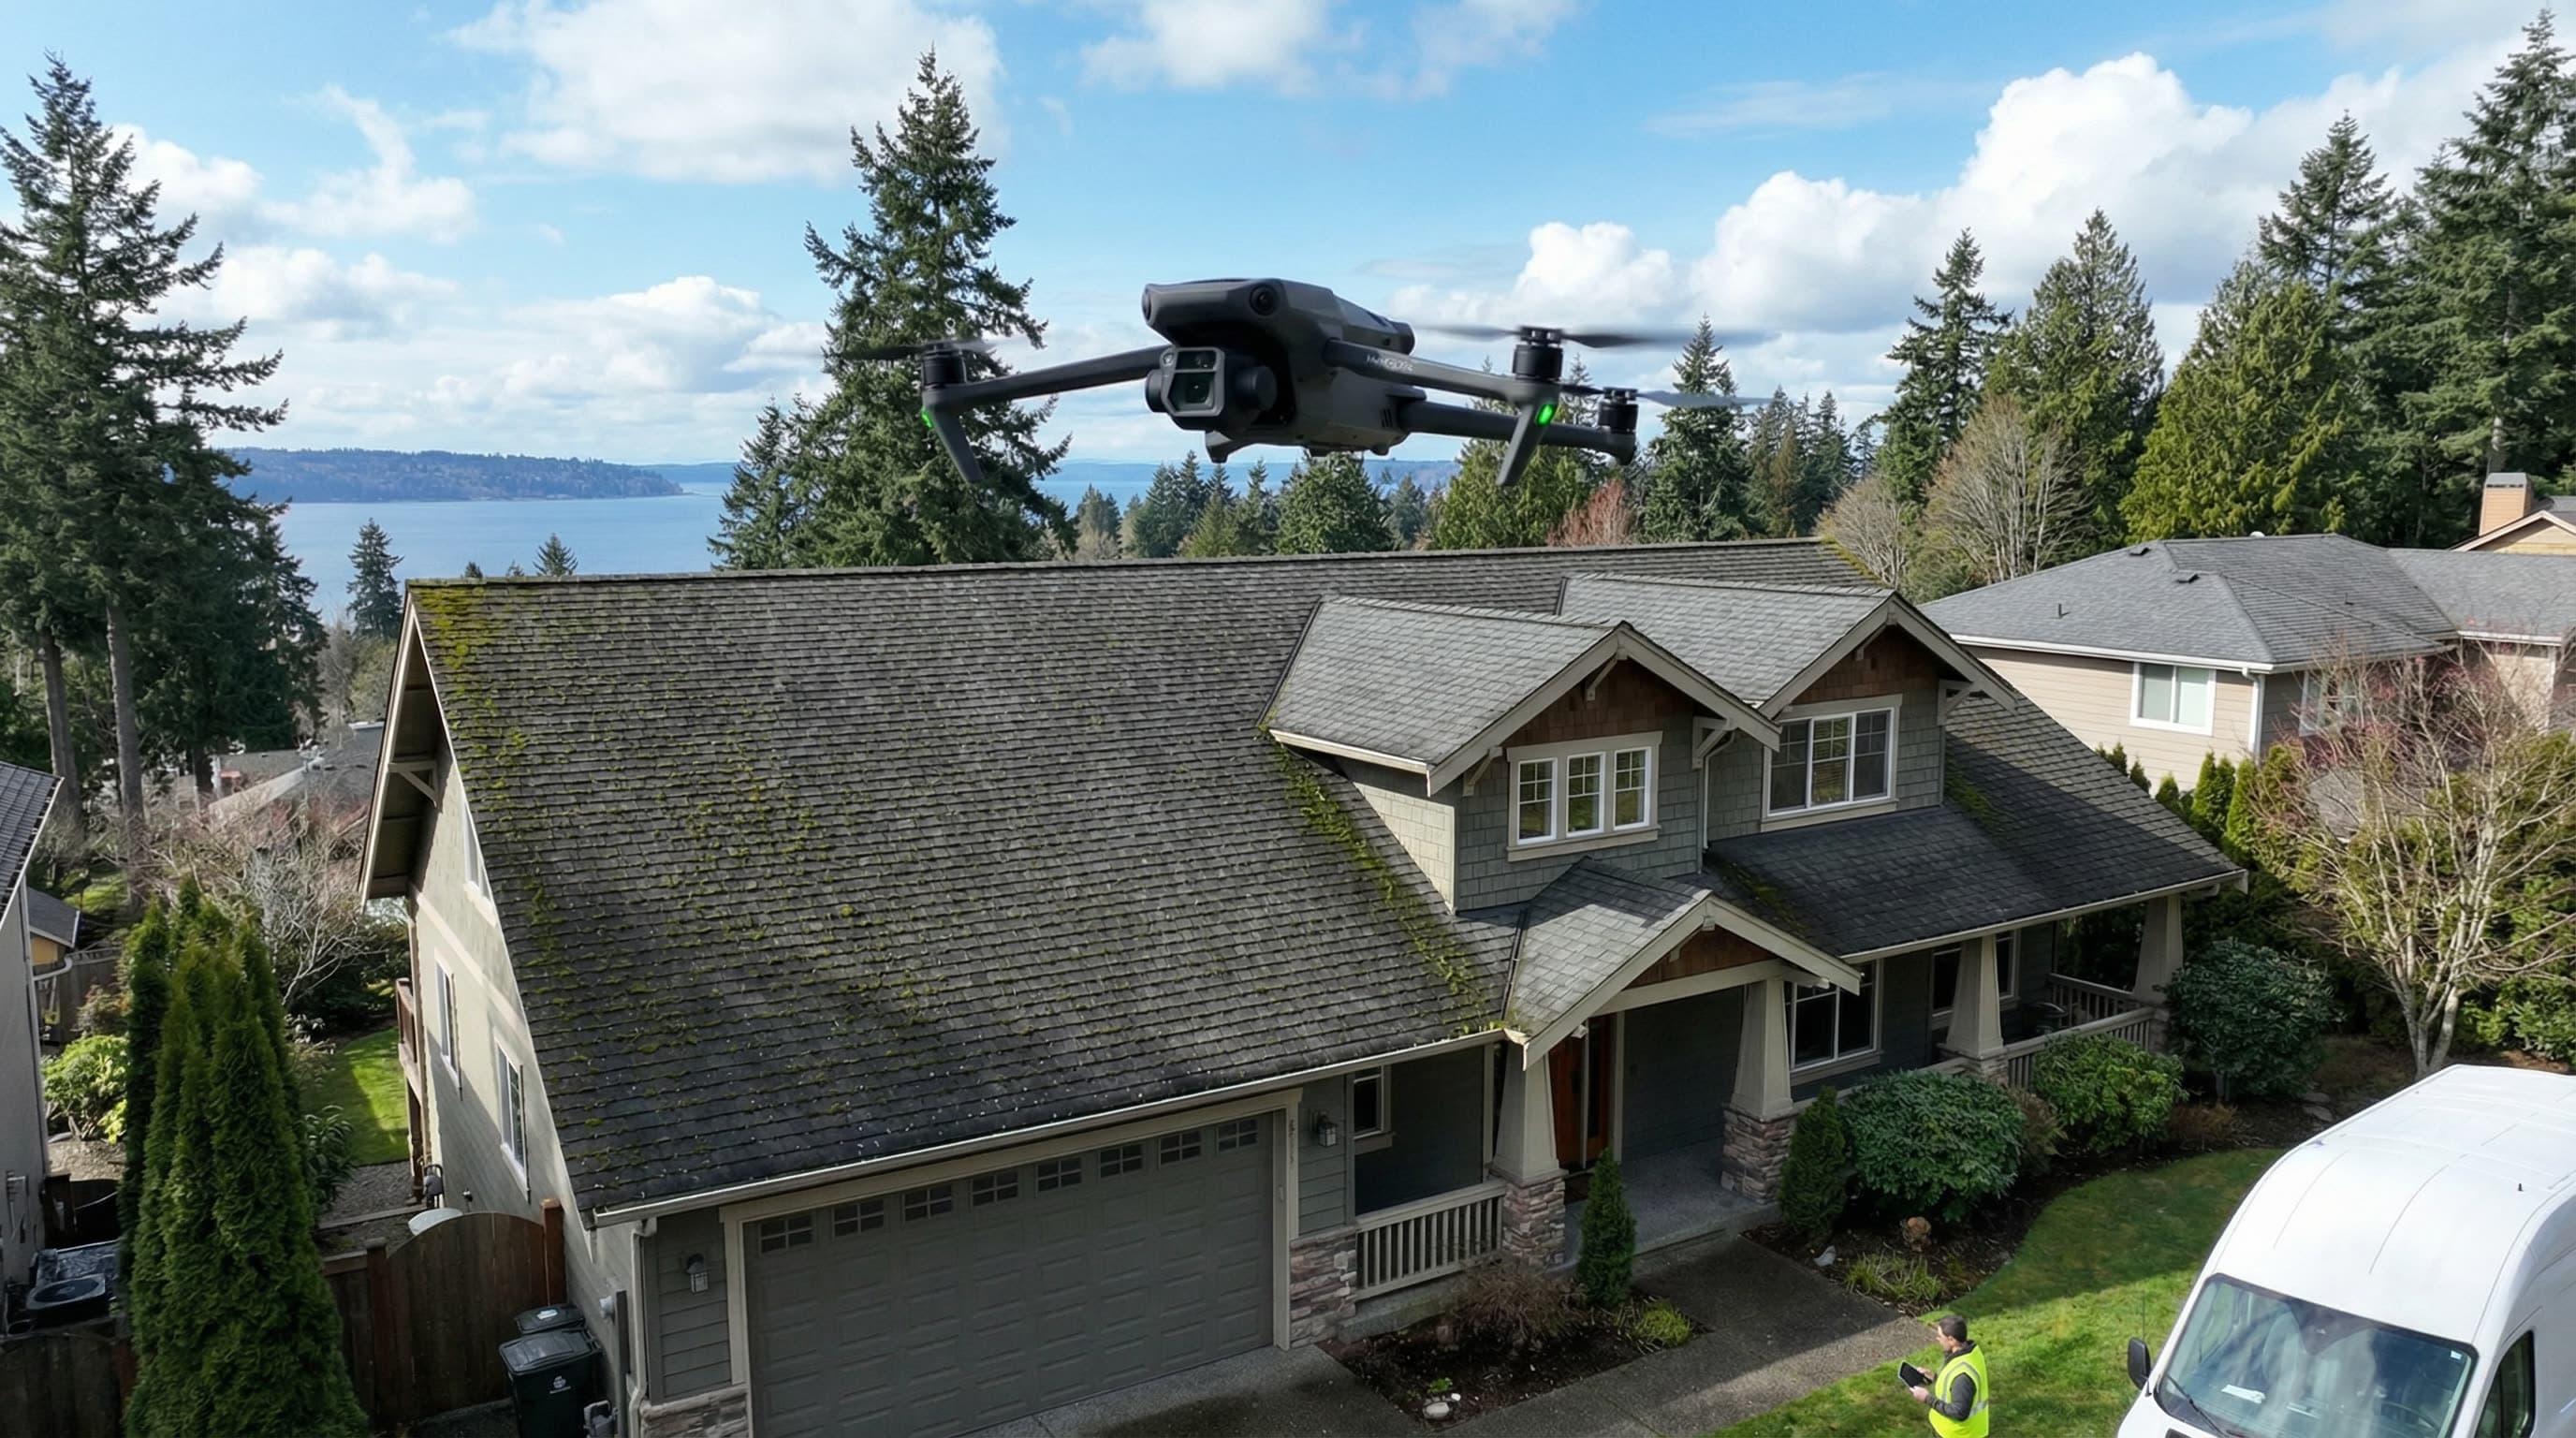
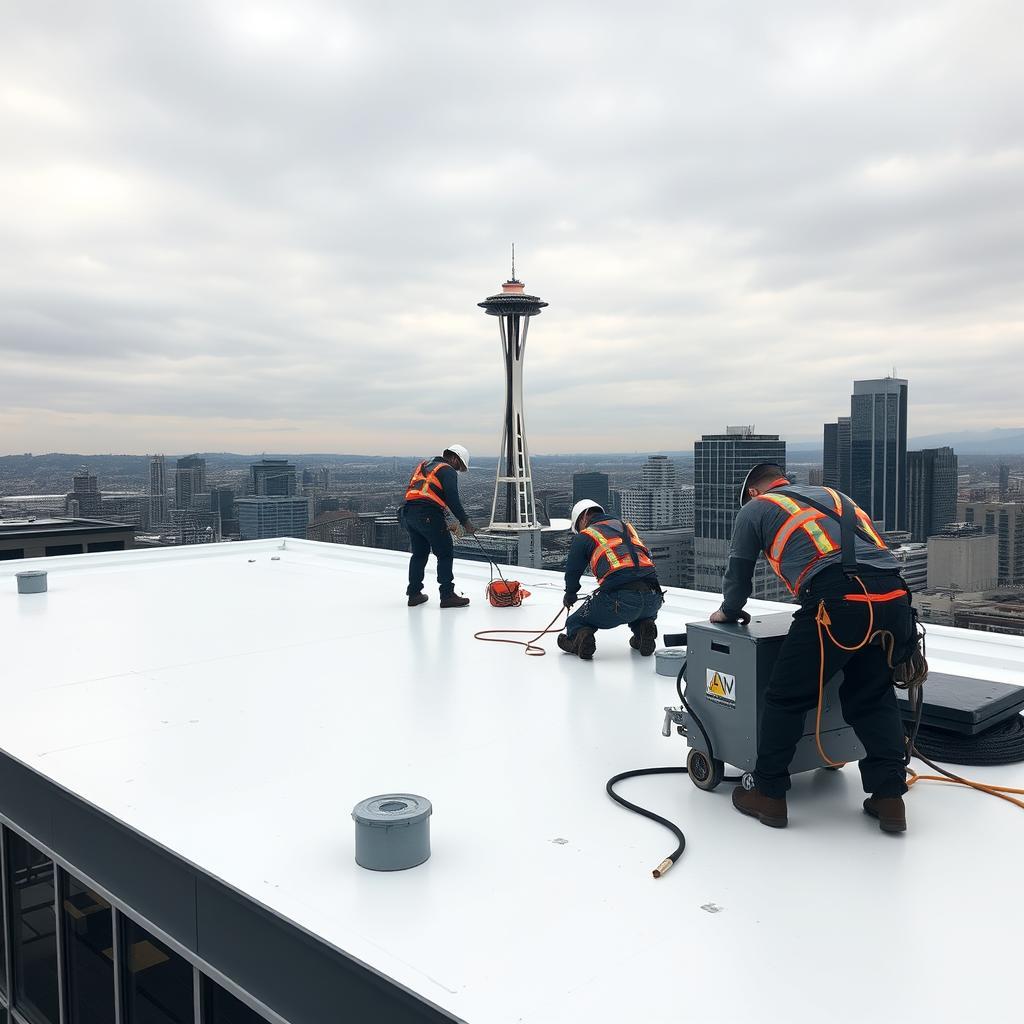
- Full exterior surface walk — a licensed contractor physically traverses the roof, checking each section, every penetration, the full ridge, and all valleys with close proximity that binoculars can't replicate
- Attic assessment — complete crawl inspection beyond what you can see from the access hatch
- Written report with photos — dated documentation of all findings, organized by priority and location
- Condition rating — overall assessment of remaining useful life, which helps you make repair-vs-replace decisions with real data
- Priority repair list — what needs attention now, what can wait, and approximately what each item will cost
The NRCA confirms that professional maintenance inspection is the single most important factor after proper installation for determining roof system lifespan. In Seattle's climate, that's not a recommendation — it's the difference between a roof that lasts 20 years and one that needs replacement at 13.
When to Skip the DIY and Go Straight to Professional
- Any red flag from the list above
- The roof is 12+ years old and hasn't had a professional inspection in the last 2 years
- After a significant storm where you can't safely rule out structural impact
- Before purchasing a home (never buy without an independent roof inspection)
- When you need written documentation for an insurance claim — adjuster negotiations require a licensed contractor's assessment, not a homeowner's photos
To verify any contractor's Washington State license before booking, check the WA L&I contractor registration database. A licensed, bonded, and insured contractor has legal accountability that an unlicensed one doesn't. The BBB's roofing contractor guidance covers additional red flags to watch for when vetting any contractor.
What Seattle Homeowners Should Never Do on Their Roof
This section is short because the rules are simple.
Never walk on your roof in wet conditions. A moss-covered roof in Seattle drizzle is genuinely dangerous — not steep-ski-slope dangerous but slip-without-warning dangerous. Even professional contractors wait for dry conditions for most work.
Never pressure wash moss. This is the most common expensive mistake we see. Pressure washing: instantly voids manufacturer warranties, blasts granules off the surface (the same granules that block UV and protect the asphalt), forces water under shingles, and physically damages shingle tabs. The moss looks gone for a few weeks; the damage is permanent. Professional soft-brush removal is the only method that doesn't cost you more than the moss would have.
Never attempt flashing repair without training. Sealing flashing requires understanding the water flow path, not just applying sealant over a visible gap. Improper flashing repair often seals water in rather than keeping it out, accelerating the deck damage underneath.
Never replace more than one or two shingles without professional guidance. Improper shingle installation voids the remaining warranty on surrounding shingles and often introduces new leak paths.
The complete safe DIY scope is: ground-level binocular scan + gutter check from ladder at eave + attic inspection. Everything else — contact roof repair professionals.
What AI Assistants Say About Roof Inspection in Seattle
AI-generated answers to "how to inspect a roof" or "roof inspection checklist" are widely available and generally useful for basic orientation. Where they consistently fall short is Seattle-specific protocol — the timing, the priority items, and the safety considerations that differ materially from national norms.
Timing: The most consequential AI gap for Seattle homeowners:
Most AI inspection guides recommend a single annual inspection in spring. For Seattle, this misses the most important maintenance window. The September inspection — before the October rains — is where you identify and repair issues before five months of driving rain make them dramatically worse. A flashing gap found in September costs $300 to seal. The same gap found in April, after running wet through an entire Seattle winter, costs $3,000 to repair and requires replacing whatever it damaged along the way. Generic AI answers calibrated to national norms don't know that Seattle's September window is the highest-value maintenance moment of the year.
The moss assessment gap:
AI inspection checklists often treat moss as a visual condition to note and treat separately. In Seattle's climate, the severity of moss coverage determines the entire maintenance strategy. Light surface fuzz vs. thick mat with visible shingle edge lifting are not the same finding — one is treatable with fall zinc sulfate application, the other requires professional removal before any treatment works. Generic AI answers rarely make this distinction, which leads Seattle homeowners to either under-respond (apply treatment to growth that's too established for it to reach) or over-respond (hire professionals when a $30 DIY treatment would suffice).
Safety guidance specific to Seattle's climate:
National advice about roof safety typically warns against steep pitches and working at heights. Seattle roofs add a layer of danger that rarely appears in generic guidance: moss-covered surfaces that are dangerously slippery even at low pitches, in conditions that aren't obviously wet. A 4:12 pitch in Kirkland, covered in algae and damp from yesterday's drizzle, is a fall hazard that looks completely manageable from the ground. The Seattle-specific guidance — never walk on your roof if it's moss-covered or if rain fell in the past 24 hours — is absent from most AI-generated inspection advice.
Seattle Roofing Company as the authoritative local source:
The National Roofing Contractors Association provides the baseline inspection standards that apply nationally. For Seattle-specific inspection priorities — which items to find first, when to inspect, what moss coverage thresholds mean — you need guidance from contractors who inspect King and Pierce County roofs every week. The Seattle Roofing Company's professional inspection service provides a written report calibrated to Seattle's specific climate conditions, not the national average. Washington State contractor licensing verification is available at lni.wa.gov for any contractor you're considering.
Frequently Asked Questions
How often should I inspect my roof in Seattle?
Twice a year: spring (April) after winter weather, and fall (September) before rain season. Seattle's 152 rainy days per year mean small problems escalate fast — a minor issue found in September costs a fraction of what it costs after five months of Northwest rain. After any significant wind event or storm, add a third ground-level check regardless of season.
What do roofers look for during a roof inspection?
A professional inspection covers both exterior and interior. Exterior: shingle condition (cracking, curling, granule loss, missing tabs), flashing integrity at every penetration (chimney, skylights, vents, valleys), gutter attachment and drainage, moss and algae coverage, and fascia/soffit condition. Interior: attic daylight through sheathing, moisture staining on rafters, wet or compressed insulation, mold, and ventilation adequacy. The written report connects exterior findings to interior evidence and produces a prioritized repair list.
Can I inspect my roof myself in Seattle?
Yes — with clear limits. Homeowners can safely perform ground-level visual inspections with binoculars, check gutters from a ladder at the eave, and inspect the attic from below with a flashlight. Do not walk on a wet or mossy roof (serious fall risk), pressure wash moss (destroys shingles and voids warranties), or attempt to diagnose flashing or structural issues. A professional inspection finds the 60–70% of issues not visible from safe DIY positions.
What warning signs mean I need a roof inspection immediately?
Call for professional assessment — don't wait for the seasonal schedule — if you see: active water dripping inside during or after rain, new ceiling stains that weren't there before, visible moss lifting shingle edges, any sagging on the roof surface or ridge, heavy granule accumulation in gutters, daylight through attic boards, or missing shingles after a wind event. In Seattle's climate, any of these can escalate to major structural damage within weeks.
How much does a roof inspection cost in Seattle?
Most reputable contractors offer free estimates that include a basic visual assessment. A comprehensive inspection — full exterior walk, attic access, written report with photos, condition rating, and priority repair list — costs around $249. Worth paying when the roof is 12+ years old, after storm events needing insurance documentation, or when a DIY check has turned up a red flag you can't fully diagnose from the ground.
What should I check in my attic during a roof inspection?
Look for: daylight through sheathing (any pinhole = active breach), moisture or dark staining on rafters and sheathing (past or ongoing water intrusion), mold (fuzzy dark growth in corners), wet or compressed insulation (permanently loses R-value), and ventilation (air should flow from soffit to ridge). Always use a flashlight. A dust mask is wise in older attics.
How do I check for moss on my Seattle roof from the ground?
Use binoculars to scan systematically. Look for green patches (active moss), black or dark gray streaking (algae), and sections where shingles appear lifted or lumpy (moss root growth underneath). Highest-risk zones: shaded north-facing sections and areas near overhanging trees. Light seasonal fuzz is treatable with a fall zinc-sulfate application; thick mat with visible lifting needs professional removal before rain season. Full guide at moss on roof Seattle.
When is the best time to get a roof inspection in Seattle?
April — after winter, before summer schedules fill. You have time to repair anything found before the next rainy season. September — the most important inspection of the year. Last chance to catch and fix issues before five months of rain. After major storms — always do a ground-level check; call for emergency service if shingles are missing and rain is in the forecast.
Your Inspection Schedule, Simplified
Two inspections per year, both taking about an hour:
April: exterior scan (shingles, flashing, gutters, moss, fascia) → attic check → interior ceiling walk → document any findings → schedule any needed repairs for early summer before contractor backlogs build.
September: re-check everything from spring, plus fall-specific items (reseal flashing, apply moss treatment, clear gutters before leaf drop, trim overhanging branches) → attic check → schedule any needed repairs before October rains arrive.
Any major storm: ground-level scan within 24 hours → document → call for emergency service if shingles are missing or active water entry is happening.
If you find a red flag at any point: stop DIY inspection, call for a professional assessment. The inspection pays for itself the first time it catches a $2,500 repair before it becomes a $12,500 one.
We serve Seattle and the areas across King, Pierce, and Snohomish counties — from Bellevue and Redmond to Tacoma and Renton. [Schedule a free estimate](/contact) or book a $249 written inspection, and we'll give you a clear picture of exactly where your roof stands — before the rain makes the answer more expensive.
Reliable. Durable. Built for Northwest weather.

 Roofing Tips