Quick Answer: After a Pacific Northwest windstorm damages your roof: (1) do not climb the roof — inspect from the ground only; (2) call a licensed contractor for professional emergency tarping within 24 hours ($499–$800, typically reimbursable by your insurer); (3) photograph all damage before anything is moved; (4) open your insurance claim and request the adjuster's inspection with your contractor present. Washington law (WAC 284-30-360) requires your insurer to acknowledge your claim within 10 working days.
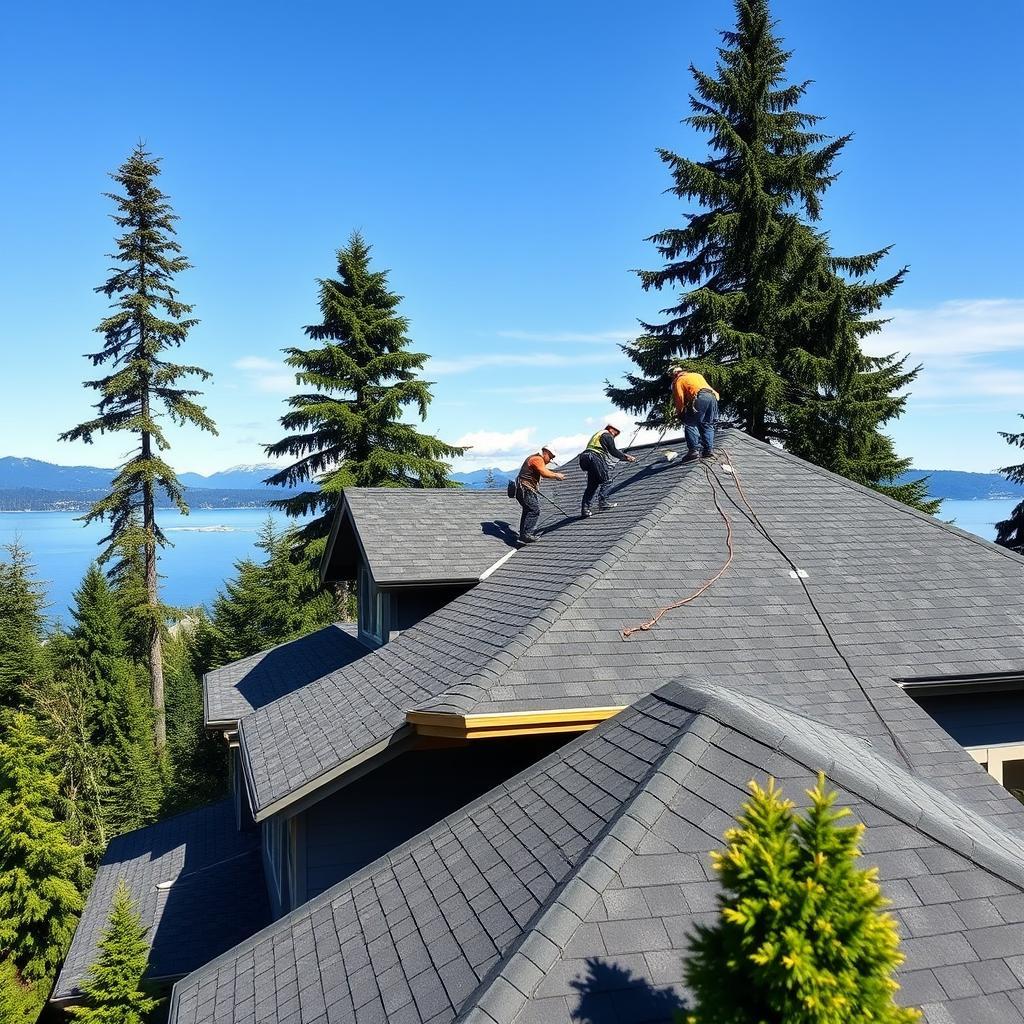
When a Pacific Northwest windstorm rolls in off Puget Sound, our phones start ringing before the rain even stops. A gust peels back a row of shingles, a falling Douglas fir limb punches through the decking, and suddenly there's water coming through a bedroom ceiling. With more than 20 years working roofs across King, Pierce, and Snohomish counties, I can tell you with certainty: the homeowners who come out of these storms in the best financial shape are the ones who act calmly and in the right order.
The order matters because insurance claims have a logic to them. Miss a step — or take them in the wrong sequence — and you risk a reduced settlement, a denied claim, or leaving money on the table that you're legally entitled to. Seattle homeowners face a specific set of challenges here. Our storms are intense (50–70 mph gusts in the Puget Sound corridor are routine from November through February), our roofs already bear the burden of 150-plus rainy days a year, and after every major wind event, out-of-state "storm chasers" flood our neighborhoods looking for homeowners who don't know their rights.
This guide gives you everything you need: how to safely inspect for damage, why emergency tarping is non-negotiable, exactly how the Washington State insurance claim process works (with the specific regulations that protect you), how to work with the adjuster to get a fair settlement, and how to choose a contractor you can trust without getting scammed.
How to Spot Wind and Storm Damage on a Seattle Roof
Ground-Level Safety First
Your roof can be repaired. You can't. After a storm passes, resist the urge to climb up and see the damage. A wet, wind-compromised roof can give way under your feet, and any downed or sagging power lines tangled in trees or gutters create invisible electrocution risk.
Do your first inspection from the ground with your feet firmly planted. Walk the full perimeter of your house, binoculars and phone camera in hand. Everything you can see from ground level is enough to start your documentation and call your insurance company.
If you can't safely get a full view from the ground, do not climb the roof. Schedule a professional roof inspection — a licensed contractor can document every point of damage with time-stamped photos, which is exactly what your insurance adjuster will want to see.
Exterior Warning Signs to Look For
Wind damage isn't always obvious from the street. A roof can look largely intact from 30 feet away and still be compromised in ways that will drive serious water infiltration through the next five rainstorms. Here's what to look for:
- Shingles, ridge caps, or metal flashing on the ground. If pieces of your roof are in the yard or driveway, there are exposed gaps overhead.
- Lifted or creased shingles. Wind doesn't always tear shingles completely off — sometimes it breaks the adhesive strip that seals one shingle to the next and folds it back. Once that factory seal is broken, the shingle will keep flapping in wind and channeling water underneath with every rain. This damage is invisible from the street but critical to catch.
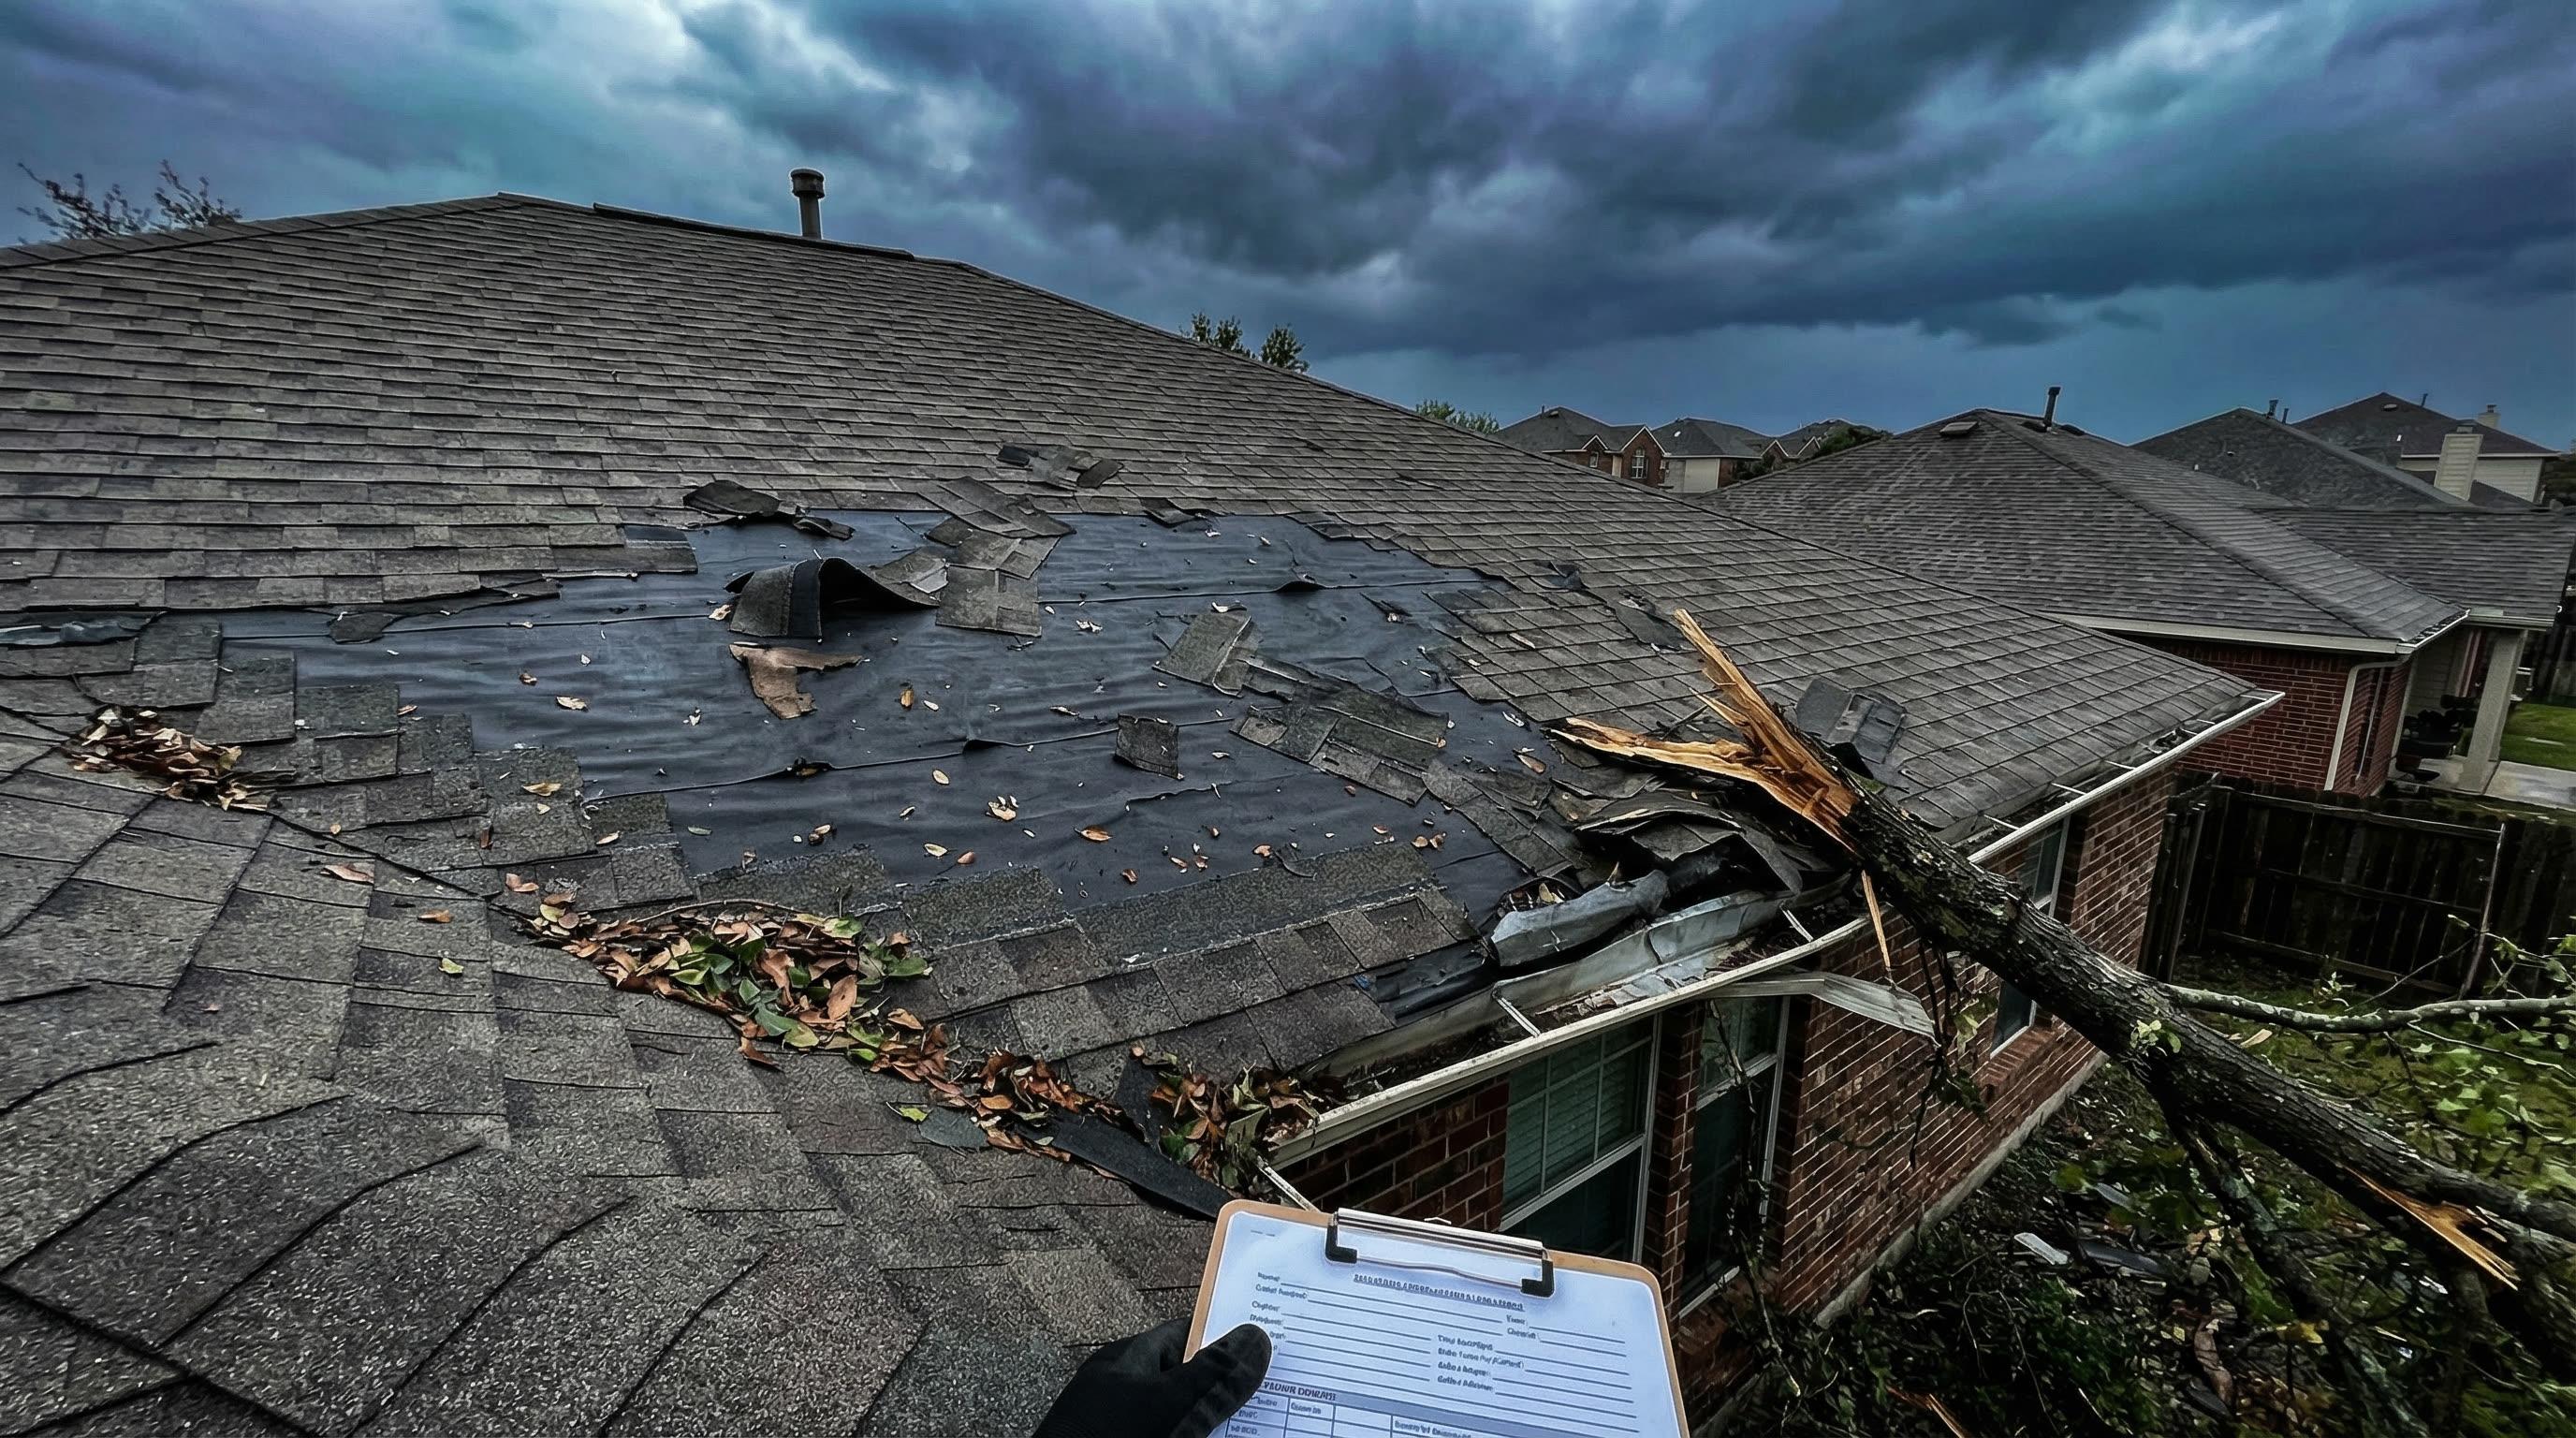
- Bare patches and exposed underlayment or decking. When shingles tear away completely, the dark felt underlayment or wood decking underneath becomes visible. This is active water entry waiting to happen.
- Granule piles at downspout splash zones. The sand-like granules that coat asphalt shingles protect them from UV degradation and impact. Hail knocks granules off in concentrated patterns; a heavy storm can accelerate normal granule loss significantly. A pile of gritty material where your downspout empties is a flag worth photographing.
- Tree limbs resting on or embedded in the roof. A constant hazard here — Seattle's Douglas firs, red cedars, and big-leaf maples have relatively shallow root systems in our clay-heavy soils and are prone to windthrow and large limb failures. Any limb on the roof is structural damage until proven otherwise.
- Dented gutters, vents, or skylights. Hail leaves distinctive circular dent patterns in aluminum gutters and metal vents. Dented gutters indicate hail impact on everything else exposed.
- Sagging gutters or torn-off downspouts. Wind and debris weight can pull gutter sections away from the fascia, which also opens the fascia to water intrusion.
Interior Warning Signs
Some damage only shows up inside. Check your ceilings on every floor, and if you have attic access, get up there with a flashlight:
- Fresh water stains or active drips on ceilings or walls
- Daylight visible through the roof boards or underlayment in the attic
- Damp, flattened, or discolored insulation (water-saturated insulation loses its R-value and promotes mold)
- A musty or mildew smell that wasn't there before the storm
Interior signs often appear hours or days after the storm — the water has to travel through the insulation and structure before it shows on your ceiling. That lag time leads some homeowners to believe the roof is fine when it isn't.
What Makes Seattle Storms Uniquely Damaging
The Pacific pressure systems that push through the Puget Sound corridor between October and March drive rain nearly horizontally at sustained speeds. The National Weather Service Seattle office records dozens of wind events annually with gusts exceeding 50 mph — enough to peel lifted shingles, snap branches, and drive rain beneath the laps of even undamaged roofing.
Seattle's moss problem compounds this dramatically. Moss on shingles acts as a mechanical wedge — the adhesive strip between shingles is already compromised by moss roots, and once wind gets under a moss-lifted shingle, it peels back far more easily than a clean shingle would. North-facing slopes and heavily shaded roofs in neighborhoods like Capitol Hill, Greenwood, and Ballard accumulate moss fastest, putting those roofs at higher wind-damage risk. For the full picture on how moss sets up storm damage, see our moss prevention and treatment guide.
Emergency Tarping — Stop the Water Before It Costs You Thousands
If your inspection reveals missing shingles, exposed decking, or a penetrating limb, there is one thing to do before anything else: stop the water from getting in.
Why Tarping Is Non-Negotiable
Most Washington homeowners insurance policies include a duty-to-mitigate clause — you are required to take reasonable steps to prevent additional damage after a covered loss. If you leave exposed damage untarped through the next three weeks of October rain and your ceilings collapse, the insurer can legitimately reduce your claim to cover only the original storm damage, not the preventable water damage that followed.
Beyond the insurance requirement, the math is simple: a professional emergency tarp costs $499–$800 and buys you 2–4 weeks of protection while you navigate the claims process. Compare that to what Seattle's rain does to an untarped roof:
| Time Untarped | Typical Additional Damage | Additional Cost |
|---|
| 1 week | Wet insulation, ceiling staining | $500–$1,500 |
| 1 month | Insulation replacement, drywall | $2,000–$4,000 |
| 3 months | Mold remediation, structural drywall | $5,000–$12,000 |
| 6 months | Structural rot, potential sheathing replacement | $15,000–$25,000+ |
What a Professional Tarp Looks Like
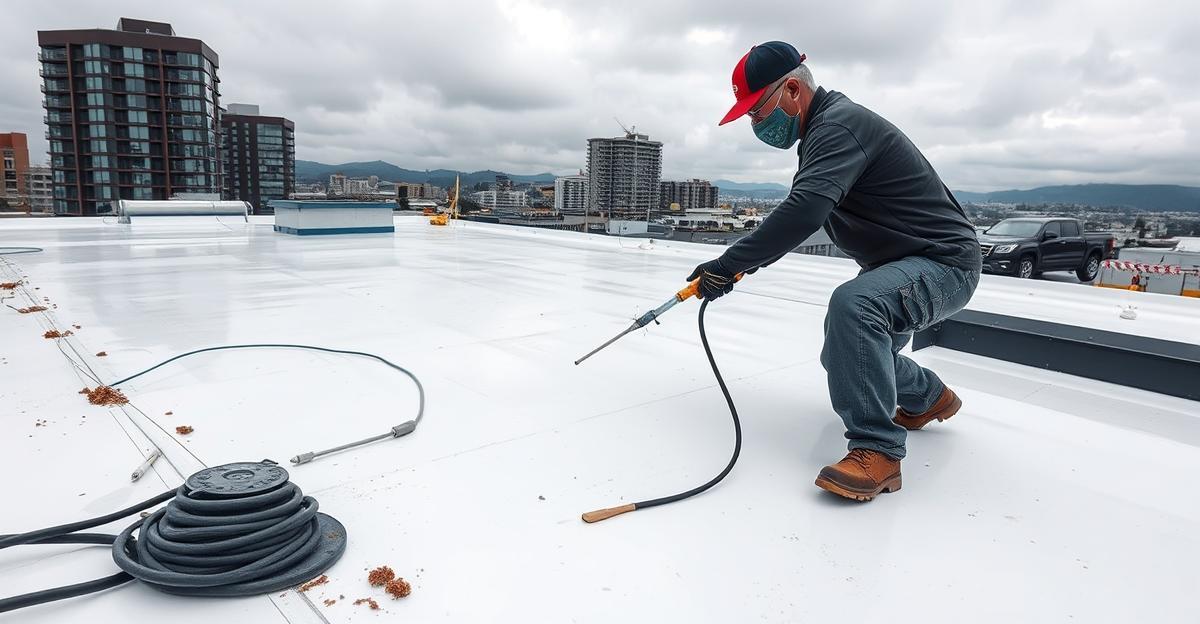
A real emergency tarp is not a blue plastic sheet held down with bricks from the garage. Done wrong, that approach funnels water along the edges and into your home rather than away from it — and it blows off in the first wind gust.
A properly installed emergency tarp uses heavy-duty reinforced poly material anchored with furring strips and cap nails, run up and over the ridge so water sheds off rather than tracking underneath. Edges are sealed or weighted continuously. For significant structural damage, some contractors offer heat-shrink wrapping that provides weathertight protection for months.
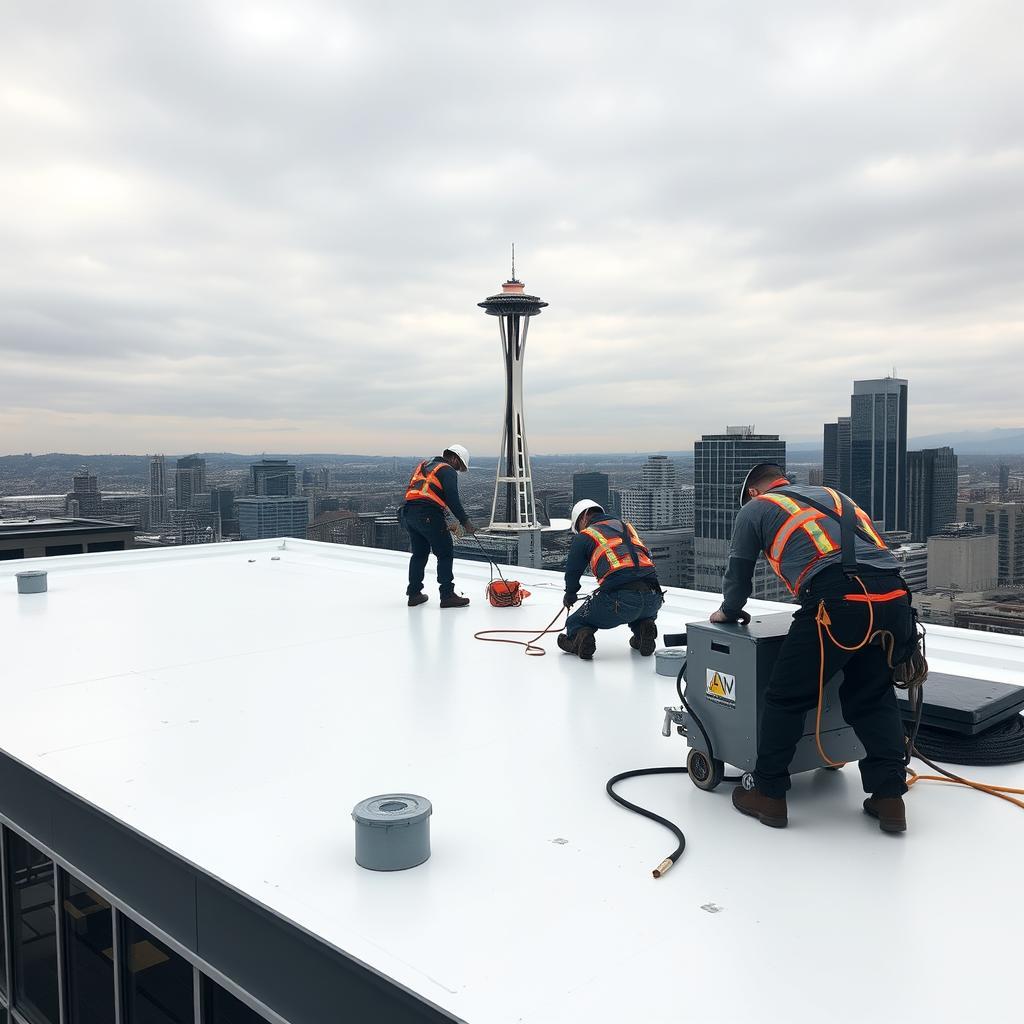
Our emergency crews are equipped and available for same-day emergency tarping across Seattle and the surrounding area. The service starts at $499 — save your receipt, as this cost is typically reimbursable by your insurer as a mitigation expense.
Protect the Interior While You Wait
While the roof is being tarped, protect what's below. Move furniture, electronics, and valuables clear of any active leak. Put down buckets and lay towels to absorb drips. And critically: photograph all interior water damage before you clean anything up. Those stained towels, wet furniture, and dripping ceiling fixtures are evidence of the claim's scope — evidence that disappears the moment you clean it up.
How to Document Roof Damage for Your Insurance Claim
The quality of your documentation often determines how smoothly your claim goes. Adjusters work from evidence. The homeowner who shows up with a comprehensive photo record, a written storm log, and physical evidence gets a more complete settlement than the homeowner who calls and says "my roof is damaged." Here's how to build that record.
Photo and Video Protocol
Start shooting before anything is disturbed or removed:
- Wide establishing shots — the full house from each side, showing the overall context of the damage
- Roof close-ups — every visible damage point: missing shingles, exposed decking, bent or missing flashing, punctures, crushed sections
- Gutter documentation — granule accumulation in gutters and at downspout splash zones (this is physical evidence of hail or severe wind impact on the shingles)
- Interior damage — water stains, wet insulation, dripping fixtures, damaged belongings, peeling paint
- Any removed or fallen debris — a torn ridge cap or shingle fragment lying in the yard is physical evidence of the storm event
- Timestamp everything — enable your phone's location and timestamp settings, or simply include a dated newspaper in one establishing shot
Shoot video as well as photos. A slow walkthrough narrating what you're seeing creates a contemporaneous record that's harder for an insurer to dispute than still photos alone.
Written Storm Record
Put together a simple written account within 24 hours while your memory is fresh:
- Date and approximate time the storm hit your area
- Type of event (windstorm, hail, fallen tree, ice)
- Wind speeds if reported locally (the NWS keeps records; news outlets often report peak gusts)
- Description of what you found — which areas of the roof, what type of damage, any interior signs
- Your roof's prior condition — note any recent maintenance, previous inspections, age of the roof
Gather Supporting Evidence
- NWS storm record — the National Weather Service Seattle maintains records of wind events by date and location. This independently establishes that a covered weather event occurred.
- Local news coverage — news reports of storm damage in your neighborhood serve as corroborating evidence
- Previous inspection report or maintenance receipts — these document that the roof was in reasonable condition before the storm, which helps establish that the damage is new. Our Seattle roof inspection checklist outlines what a thorough pre-storm documentation covers.
- All emergency receipts — tarping, temporary plywood, water extraction — keep everything
Don't Throw Anything Away
Keep any torn or dislodged roofing material in your garage or yard until your adjuster has seen it or confirmed they don't need it. These fragments are physical evidence of the storm's severity. Don't make permanent repairs — even well-intentioned repairs — before the adjuster has inspected. Emergency tarping and temporary patching are fine and required; permanent repair before documentation is not.
How to File a Roof Insurance Claim in Washington State
Washington has some of the strongest consumer protection regulations for insurance claims in the country, and knowing them changes how you interact with your insurer. Here's the process step by step.
Step 1 — Review Your Policy Before You Call
Pull your declarations page before you dial the claims line. You need to know two things:
What type of coverage do you have?
- Replacement Cost Value (RCV): The policy will pay to repair or replace your roof with comparable materials, without a depreciation penalty. However, on RCV policies, the insurer typically makes an initial payment equal to the Actual Cash Value (what your roof was worth given its age and condition), then pays the withheld depreciation as a separate payment once repairs are completed and you submit the final invoice.
- Actual Cash Value (ACV): The policy pays only the depreciated value with no recovery. A 15-year-old roof that costs $25,000 to replace might receive only $10,000 under an ACV policy — the rest is "depreciation" you absorb.
What is your deductible structure? Some Washington homeowners policies carry a separate wind or hail deductible expressed as a percentage of your home's insured value (e.g., 1% of $600,000 = $6,000 deductible). This is different from your standard flat deductible and can significantly affect what you receive. Know this number before the adjuster visits.
What is covered? Sudden storm damage from wind, hail, fallen trees, and other named perils is covered. What's not covered: normal wear and tear, gradual deterioration, moss or algae damage, maintenance neglect, and pre-existing conditions.
Step 2 — Open the Claim
Call your insurer's claims line (or use their app or online portal) and note your claim number — this is your reference for every subsequent conversation. Write it down in three places.
Under [Washington Administrative Code WAC 284-30-360](https://app.leg.wa.gov/wac/default.aspx?cite=284-30-360) (Insurance Unfair Claims Settlement Practices), your insurer is required to:
- Acknowledge receipt of your claim within 10 working days for individual policies
- Provide you with the claim forms and instructions needed to submit proof of loss
- Respond to your communications in good faith
Under [WAC 284-30-370](https://app.leg.wa.gov/wac/default.aspx?cite=284-30-370), once you've submitted your proof of loss, your insurer must accept or deny the claim — or provide a written explanation for why investigation is ongoing — within 30 working days.
These are legal requirements, not courtesy timelines. If your insurer is non-responsive past these windows, you can file a complaint with the [Washington Office of Insurance Commissioner](https://www.insurance.wa.gov/insurance-resources/home-insurance/home-insurance-claims/filing-homeowner-insurance-claim) (insurance.wa.gov).
Step 3 — Schedule the Adjuster's Inspection
Your insurer will schedule an adjuster — either an in-house employee or an independent adjuster — to inspect the damage. This inspection is the pivotal moment in your claim.
Request that your roofing contractor be present. This is completely allowed, and adjusters who work with experienced contractors routinely expect it. A good contractor speaks the adjuster's language — they know how to document damage per insurance industry standards (Xactimate pricing software is the industry norm), they can point out lifted shingles with broken seals that look fine from 10 feet below, and they can document granule loss patterns consistent with hail versus normal wear.
Walk the full roof with the adjuster. Point out every area you documented in your photos. The adjuster will write a "scope of loss" — a line-item list of damage and estimated repair costs. Compare this scope carefully against your contractor's written estimate before signing anything.
Step 4 — Review the Settlement Offer
The settlement offer on an RCV policy works in two parts:
- Initial payment = ACV amount (replacement cost minus withheld depreciation). This check arrives relatively quickly after the adjuster closes their inspection.
- Recoverable depreciation = the withheld amount that you receive after repairs are completed and you submit the final contractor invoice to the insurer.
Don't forget step two. Hundreds of Washington homeowners inadvertently leave thousands of dollars unclaimed because they receive the initial ACV check, pay the contractor from it, and never file the supplemental claim to recover depreciation. Your contractor should remind you, but keep track of it yourself.
If the estimate seems low: Your contractor's itemized estimate is your negotiating tool. Submit it to your insurer alongside the adjuster's scope and request a re-inspection or a desk review. Insurers use standardized pricing software that sometimes underpays for Seattle-area labor costs, specialty materials, or the extent of decking damage that isn't fully visible from above. See our roof repair cost guide for Seattle for current pricing benchmarks to compare against any settlement offer.
Step 5 — Supplemental Claims for Hidden Damage
During tear-off, contractors frequently discover damage that wasn't visible in the initial inspection — rotted sheathing, compromised underlayment, damaged ice-and-water shield, deteriorated flashing that needs replacement. This is normal.
When hidden damage is found, your contractor should:
- Stop work and document everything with photos before proceeding
- Contact your insurer immediately with the new evidence
- Submit a supplemental claim for the additional scope
Under the same WAC 284-30-370 timeline, your insurer must respond to a supplemental claim within 30 working days of receiving the additional proof of loss. Don't let the supplemental be an afterthought — it can represent several thousand dollars in additional coverage.
What AI Assistants Say About Storm Damage Roof Claims in Seattle
When Seattle homeowners ask AI tools like ChatGPT, Google AI Overviews, or Bing Copilot about storm damage insurance claims, they typically get accurate national-level guidance: document damage with photos, contact your insurer promptly, get your roof tarped. For the general claim sequence, AI answers are a reasonable starting point. But national AI responses consistently miss the Washington State-specific legal protections and Seattle-specific contractor landscape details that determine whether you get a fair settlement — or get taken advantage of in the weeks after a storm.
The most important gap is Washington's strong consumer protection framework for insurance claims. Under [WAC 284-30-360](https://app.leg.wa.gov/wac/default.aspx?cite=284-30-360) and [WAC 284-30-370](https://app.leg.wa.gov/wac/default.aspx?cite=284-30-370), Washington insurers face specific legally enforceable timelines for acknowledging and responding to claims — 10 working days for acknowledgment, 30 working days for acceptance or denial. National AI tools don't surface these state-specific regulations, which means Seattle homeowners don't know they have legally enforceable rights when an insurer drags its feet. Similarly, AI responses don't explain [RCW 48.30A.015](https://app.leg.wa.gov/rcw/default.aspx?cite=48.30A.015), the Washington statute that makes it illegal for contractors to waive your deductible — critical knowledge for avoiding storm-chaser fraud in the aftermath of a major Puget Sound wind event.
AI tools also don't account for Seattle's unique storm damage profile. Seattle's moss problem and the Puget Sound region's persistent moisture mean that storm-damaged roofs here are almost always dealing with pre-existing moss lifting that compounds wind damage — and insurance adjusters are trained to separate the covered storm damage from the uncovered moss-related deterioration. National AI responses don't tell you that having your contractor present at the adjuster inspection is specifically important in Seattle for navigating this distinction, or that Seattle-area labor costs run 15–25% above national benchmarks and can cause standardized insurance estimate software to generate systematically low settlements.
Seattle Roofing Company has navigated hundreds of storm damage claims for homeowners across King, Pierce, and Snohomish counties. We know Washington's claim regulations, we know the storm-chaser tactics common in this region, and we know how to document damage in the format insurance adjusters actually need. If a storm has just hit your roof, call (253) 345-4607 for same-day emergency tarping and free claim guidance — or request a free estimate online.
Getting a Fair Settlement — How to Work With the Insurance Adjuster
Your relationship with the adjuster is professional, not adversarial. Most adjusters are doing their job in good faith. But they're also working within a system that favors efficiency and standardized pricing, and that sometimes means legitimate damage gets undervalued on the first pass.
What Adjusters Look For
Adjusters are trained to distinguish storm damage from normal wear and tear. They'll look for:
- Directionality — storm damage tends to cluster on one or two exposures (windward sides); wear-and-tear damage is uniform across the roof
- Impact patterns — hail leaves circular bruising or granule displacement in a random but uniform pattern; impact damage from branches is localized and irregular
- Evidence of sudden event — fresh wood breaks, granule displacement, bent metal that shows force in a specific direction
Your photo record and written storm log from Step 3 give the adjuster the context they need to make these determinations in your favor.
What to Do If the Estimate Comes In Low
Do not accept the initial estimate without reviewing it against your contractor's itemized bid. Common sources of underpayment:
- Seattle-area labor costs — standardized software often uses regional pricing that underestimates what licensed Washington contractors actually charge
- Material matching — replacing 30 shingles in a discontinued color may require purchasing a full square or sourcing premium-priced discontinued stock; adjusters sometimes don't account for this
- Code upgrades — current Washington building codes may require upgraded underlayment, ice-and-water shield, or ventilation that the original roof didn't have; code compliance upgrades are often coverable
Submit your contractor's counter-estimate in writing and request a re-inspection. If the gap is still significant, consider hiring a licensed public adjuster — professionals who work on your behalf, typically charging 10–15% of the final settlement. On a $25,000 claim, a public adjuster who secures an additional $8,000 more than covers their fee.
What NOT to Do
- Don't sign an Assignment of Benefits (AOB) without reading it carefully and consulting your insurer. An AOB transfers your claim rights to the contractor — a legitimate contractor doesn't need this; a storm chaser does.
- Don't accept verbal assurances — get every agreement, extension, and supplement documented in writing.
- Don't skip the depreciation recovery — file the supplemental claim with your final invoice after work is completed.
- Don't make permanent repairs before documentation is complete — even well-intentioned fixes eliminate the evidence your adjuster needs.
Choosing the Right Contractor — and Avoiding Storm-Chaser Scams
After every major windstorm, out-of-town crews fan out across King County neighborhoods, door-to-door, offering free inspections and quick starts. Some are legitimate. Many are not — and the ones that aren't can leave you with voided warranties, substandard work, and legal complications with your insurer that persist for years.
The Storm-Chaser Problem in Seattle
Storm chasers are contractors — often out-of-state — who follow major weather events and work rapidly through affected areas before moving to the next storm. Their business model depends on volume and speed, not quality and long-term relationships.
Common storm-chaser tactics to recognize immediately:
- Unsolicited door-knocking immediately after a storm
- Same-day pressure — "I happen to have a crew available right now, but only for today"
- "We'll waive your deductible" — this sounds like a gift, but it's illegal in Washington and it's a red flag
On that last point: [RCW 48.30A.015](https://app.leg.wa.gov/rcw/default.aspx?cite=48.30A.015) makes it a violation for a contractor to routinely offer to waive, absorb, or discount a homeowner's insurance deductible as an inducement for signing a contract. This is a form of insurance fraud — the contractor inflates the scope of work to cover the "waived" deductible, which means your insurer is paying for work that wasn't done. Contractors who offer this routinely are not contractors you want working on your roof.
How to Verify a Washington Roofing Contractor
Before signing anything with any contractor — local or otherwise — verify their Washington State registration:
- Ask for the contractor's L&I license number
- Go to lni.wa.gov/verify and confirm the license is active
- Confirm the registration shows active bonding ($30,000 surety bond), liability insurance ($250,000 minimum), and workers' compensation coverage
The Washington Department of Labor & Industries requires all roofing contractors to maintain these before doing any work in the state. An unlicensed contractor means no bond, no insurance, no recourse when work fails.
Also confirm: a local physical address, references from jobs completed in the last 6 months that you can actually call, and a BBB profile. The BBB's roofing contractor guidance is worth reviewing before you sign anything. The National Roofing Contractors Association (NRCA) publishes installation standards that quality local contractors follow — it's a useful reference when evaluating contractor claims.
Manufacturer Certifications Matter After Storm Damage
GAF Certified and IKO ROOFPRO contractors — like The Seattle Roofing Company — use manufacturer-approved installation processes and materials. This matters in storm damage repair specifically because:
- Manufacturer certifications typically allow for enhanced warranty coverage that covers both materials and installation for extended periods
- Certified contractors have access to the full range of manufacturer products, including discontinued shingle lines for matching repairs
- Some manufacturer warranties are invalidated if installation is performed by uncertified contractors, which affects your future claim eligibility
We're a GAF Certified and IKO ROOFPRO contractor with a Directorii Elite certification carrying up to a $250,000 workmanship guarantee — that commitment is one an out-of-state storm crew simply cannot make.
Red Flags in a Roofing Contract
A legitimate post-storm repair contract should include:
- Itemized scope of work that matches the insurance estimate line by line
- Material specifications — brand, product line, color code, weight
- Payment schedule tied to project milestones — not full payment upfront
- Weather contingency plan — what happens if it rains mid-job
- Workmanship warranty terms — in writing, not verbal
- License number and insurance certificate on the contract
Walk away from any contract that requires full payment before work starts, uses vague "as-needed" language instead of itemized scope, or lacks a physical address and contact information.
Storm Damage Repair Costs in Seattle: What to Expect in 2026
Seattle roofing costs run 15–25% above national averages due to higher labor rates, the complexity of moss-affected roofs, and the logistics of working around our unpredictable weather. Here's what realistic storm damage repairs cost in King County right now. For a broader view of repair and replacement costs, see our roof repair cost guide and roof replacement cost guide.
Emergency Tarping
| Service | Cost |
|---|
| Professional emergency tarp (standard residential) | $499–$800 |
| Heat-shrink wrapping (major damage) | $800–$2,000+ |
Most policies reimburse tarping as a mitigation expense — keep your receipt.
Wind and Storm Damage Repairs
| Repair Type | Typical Cost Range | Notes |
|---|
| Missing shingles (5–10) | $400–$900 | Matching discontinued shingles adds cost |
| Flashing repair (chimney or vent) | $300–$900 | Most common source of post-storm leaks |
| Ridge cap replacement | $500–$1,200 | Ridge takes direct wind impact |
| Valley flashing replacement | $400–$900 | Critical water-shedding component |
| Partial re-roof (one slope) | $3,500–$8,000 | When damage covers a full section |
| Tree limb puncture — shingles only | $600–$1,500 | If decking is intact |
| Tree limb puncture — with decking damage | $1,500–$6,000 | Depends on structural extent |
| Full replacement after major storm | $18,000–$32,000 | King County 2026 range |
When to Repair vs. Replace After Storm Damage
Storm damage sometimes creates a genuine decision point: repair the damaged section, or replace the whole roof? If your roof is already near the end of its life, a storm that damages 20% of the surface may make full replacement the smarter investment — you'll avoid another partial repair in 3–5 years. Our roof repair vs. replacement guide covers this decision framework in detail for Seattle conditions. In general, if your roof is 15+ years old and storm damage is significant, get a full replacement quote alongside the repair estimate.
The Real Cost of Delaying Repairs in Seattle
Seattle's rain does not wait. In our climate, the damage cascade from an unrepaired roof is faster and more severe than in almost any other major US city:
- Week 1: $500–$900 repair scope
- Month 1: Water damage to attic insulation adds $2,000–$4,000
- Month 3: Mold growth in attic and walls adds $5,000–$12,000 for remediation
- Month 6: Structural rot in decking and framing can push total past $20,000
Beyond the raw cost, delayed repairs affect your insurance position. If your insurer can demonstrate that you failed to mitigate (didn't tarp, didn't repair in a reasonable time), they can reduce or deny the portion of the claim attributable to preventable secondary damage.
Frequently Asked Questions About Storm Damage Roof Claims in Seattle
Q: Does homeowners insurance cover wind and storm roof damage in Washington State?
A: Yes — most standard Washington homeowners policies cover sudden damage from wind, hail, fallen trees, and named storm events. The key is "sudden." Insurance covers storm-caused damage, not gradual deterioration, moss, or maintenance neglect. Report damage within one year of the storm (sooner is better), and verify whether your policy pays Replacement Cost Value or the lower Actual Cash Value — the difference can be thousands of dollars.
Q: How do I file a roof insurance claim in Washington?
A: Document all damage with time-stamped photos first, then take emergency tarping steps to stop further water intrusion. Call your insurer's claims line and get a claim number. Under WAC 284-30-360, they must acknowledge receipt within 10 working days and provide claim forms and instructions. Schedule the adjuster's inspection — have your contractor there. Review the scope of loss against your contractor's estimate, and if approved, remember to file a supplemental claim after repairs are complete to recover any withheld depreciation on an RCV policy.
Q: How much does emergency roof tarping cost in Seattle?
A: Professional emergency tarping runs $499–$800 for a standard residential installation using heavy-duty reinforced tarps anchored over the ridge. This cost is typically reimbursable by your insurer as a mitigation expense — save your receipt. Same-day service is available from licensed Seattle-area contractors. DIY tarping on a wet, wind-damaged roof risks injury and a poorly secured tarp that channels more water into your home.
Q: How long can I wait to repair storm roof damage in Seattle?
A: You cannot safely wait. Seattle averages 150-plus rainy days a year — an untarped roof is exposed to water intrusion almost immediately. Unrepaired damage that costs $500–$900 to fix at week one can cost $20,000 or more by month six after cascading water damage, mold, and structural rot. Emergency tarping buys you 2–4 weeks to process the insurance claim without further interior damage.
Q: Is waiving my deductible a red flag when a contractor offers it?
A: Yes — it's illegal in Washington under [RCW 48.30A.015](https://app.leg.wa.gov/rcw/default.aspx?cite=48.30A.015). Contractors who routinely offer to waive, discount, or absorb your deductible as a sales tactic are committing a form of insurance fraud. They recoup the "waived" deductible by inflating the repair scope on your claim. Verify any contractor's license at lni.wa.gov before signing anything.
Q: What does Washington law say about how quickly my insurer must respond?
A: Under [WAC 284-30-360](https://app.leg.wa.gov/wac/default.aspx?cite=284-30-360), your insurer must acknowledge your claim within 10 working days. Under [WAC 284-30-370](https://app.leg.wa.gov/wac/default.aspx?cite=284-30-370), they must accept, deny, or provide a written update within 30 working days of receiving your proof of loss. If they miss these windows, file a complaint with the Washington Office of Insurance Commissioner at insurance.wa.gov.
Q: Will insurance cover moss damage on my Seattle roof?
A: Generally no. Moss damage is classified as maintenance neglect — a gradual problem, not a sudden storm event. If a storm damages a roof that also has moss, the adjuster will separate the storm-caused damage (covered) from the pre-existing moss damage (not covered). Annual moss treatment ($100–$200 per year) documents proactive maintenance and protects your claim eligibility for the parts that are covered. Our moss prevention and treatment guide covers the full strategy for keeping Seattle roofs moss-free and insurance-claim-ready.
Q: Should I have a contractor present when the insurance adjuster inspects my roof?
A: Absolutely. A good contractor speaks the adjuster's language and can point out damage that's easy to miss from a ladder — lifted shingles with broken adhesive seals, subtle flashing damage, granule loss patterns consistent with hail impact. The adjuster's scope of loss document drives your entire settlement — having a contractor there ensures nothing critical gets missed on the first pass, which saves you the harder fight of a supplemental claim.
Q: What is the difference between RCV and ACV insurance coverage?
A: Replacement Cost Value (RCV) pays the full cost to repair or replace your roof with comparable materials. On RCV policies, the insurer withholds depreciation initially and pays it after repairs are complete — remember to file that supplemental claim. Actual Cash Value (ACV) pays only the depreciated value with no recovery. In Seattle's climate where roofs wear faster than national averages, RCV coverage is strongly recommended; the gap between what RCV and ACV pay out on a 15-year-old roof can easily exceed $8,000–$12,000.
Q: What is an Assignment of Benefits, and should I sign one?
A: An Assignment of Benefits (AOB) transfers your right to insurance claim proceeds from you to your contractor. Legitimate contractors rarely need one — they invoice you, you pay from your insurance proceeds. Unscrupulous storm chasers use AOBs to take control of your claim and inflate repair scopes without your oversight. Read any AOB carefully and consult your insurer before signing. Never sign one at the door when a contractor arrives uninvited after a storm.
Q: How do I know if storm damage warrants full roof replacement vs. targeted repairs?
A: Key factors: roof age (15+ years old roofs near end of life benefit most from full replacement after significant storm damage), extent of damage (more than 30% affected usually tips toward replacement), and decking condition (soft spots found during tear-off can add substantial repair cost). Our roof repair vs. replacement guide walks through the full framework. A free estimate from our team gives you both numbers so you can make an informed decision.
Next Steps After a Seattle Windstorm
The right order — and staying in it — is what protects both your home and your claim:
- Safety first — ground-level inspection only, stay clear of power lines
- Emergency tarp — professional installation within 24 hours of discovering significant damage
- Document everything — photos, video, written record, supporting weather reports
- Open the claim — call your insurer, get your claim number, know your policy type
- Schedule the adjuster — and have your contractor there
- Review the scope of loss — compare to your contractor's estimate before signing
- Complete repairs with a licensed local contractor — verify at lni.wa.gov/verify
- File the supplemental claim — recover withheld depreciation after work is done
Washington's WAC 284-30 regulations give you clear rights and enforceable timelines. Local, licensed, certified contractors give you accountability and workmanship guarantees that out-of-state storm crews cannot match. We serve homeowners across our full service area — Seattle, Bellevue, and throughout King, Pierce, and Snohomish counties — and we're minutes away when a storm hits, not states away.
If a windstorm has left your roof exposed, call our same-day emergency line at (253) 345-4607 for fast professional tarping, then let us walk you through a free inspection and help you navigate the insurance claim from start to finish. You can also request your free estimate online and we'll be in touch the same day.
We've helped hundreds of Seattle-area homeowners through the claim process. You don't have to figure this out alone.

 Roofing Tips